Cacti are remarkable plants known for their resilience and unique aesthetic. Whether you’re looking to give your cactus a fresh start or want to rearrange your garden, transplanting a cactus requires careful consideration and precise execution. This article provides a comprehensive guide on how to transplant a cactus while ensuring its health and survival.
Step 1: Choose the Right Time
Transplanting a cactus is best done during its active growing season, which typically occurs in the spring or early summer. During this period, the cactus is most likely to recover quickly from the shock of being moved.
Step 2: Gather Supplies
Before starting the transplanting process, gather the necessary supplies:
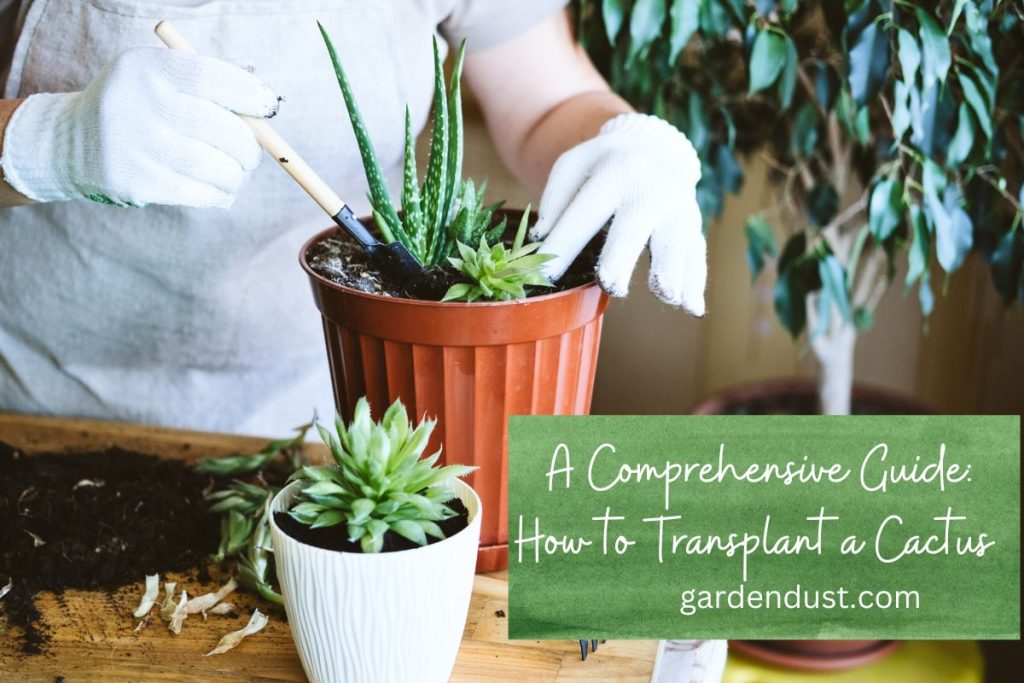
- Gloves: Use thick gloves to protect your hands from the cactus’s spines.
- Tongs or Long Tweezers: These will help you handle the cactus without touching it directly.
- New Pot: Choose a pot that’s slightly larger than the current one to allow for growth. Ensure it has proper drainage holes.
- Potting Mix: Use a well-draining cactus mix or create a mixture of potting soil, perlite, and sand.
- Small Rocks or Broken Pottery: Place these at the bottom of the new pot to enhance drainage.
- Newspaper or Old Cloth: These can be used to protect your hands from spines during handling.
- Watering Can: Prepare water to irrigate the cactus after transplantation.
Step 3: Prepare the New Pot
Start by placing small rocks or pieces of broken pottery at the bottom of the new pot. This will help prevent waterlogging.
Fill the pot with the potting mix, leaving enough space at the top for the cactus.
Step 4: Remove the Cactus
Gently loosen the soil around the base of the cactus in its current pot using a small trowel or spoon. Be cautious not to damage the roots.
Using tongs or long tweezers, grasp the cactus as close to the soil as possible and lift it out of the pot.
Step 5: Inspect and Prune
Examine the cactus roots for any signs of rot or damage. Trim away any brown or mushy roots using clean, sharp scissors or pruning shears.
If the cactus has grown too tall, this could be a good opportunity to prune the top to encourage branching. Use a clean, sharp knife for this.
Step 6: Transplant the Cactus
Place a layer of the prepared potting mix in the new pot.
Set the cactus in the pot, positioning it so that the top of the root ball is slightly below the rim of the pot.
Fill in around the cactus with the potting mix, gently pressing it down as you go to eliminate air pockets. Be careful not to bury the cactus too deeply.
Step 7: Watering and Settling
Water the newly transplanted cactus lightly, allowing the water to soak into the soil. Avoid overwatering, as this can lead to root rot.
Place the potted cactus in a shaded area for a few days to help it recover from the transplant shock. Gradually introduce it to more sunlight.
Step 8: Care After Transplantation
- Limited Sunlight: For the first few weeks after transplanting, avoid exposing the cactus to direct sunlight. Gradually increase the amount of sunlight it receives.
- Minimal Watering: Allow the soil to dry out between watering sessions. Cacti prefer to be slightly underwatered than overwatered.
- Fertilization: Wait at least a month before fertilizing the cactus after transplanting. Use a diluted, balanced fertilizer.
Final Thoughts
Transplanting a cactus can be a rewarding experience, allowing you to give your plant a fresh start and potentially improve its overall health. By following this detailed guide and handling the process with care, you can ensure that your cactus thrives in its new environment. Remember, patience and attention to detail are key to a successful cactus transplantation. Happy Gardening….