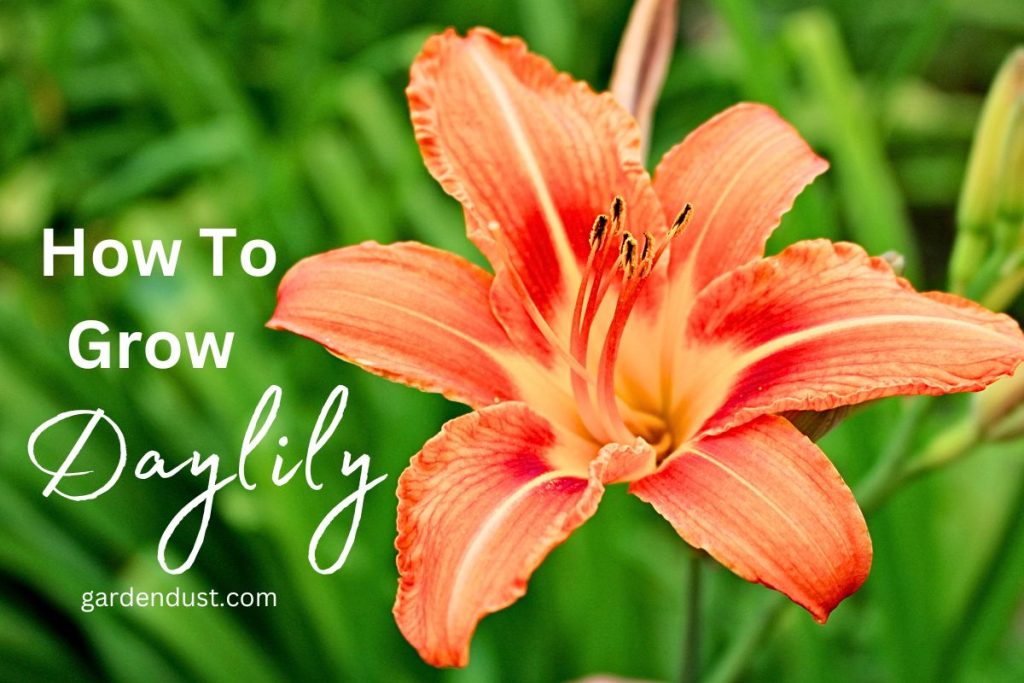
Daylilies, with their vibrant blooms and easy-to-care-for nature, have earned a special place in the hearts of gardeners. Hemerocallis, commonly known as daylilies, are perennial plants that grace gardens with a burst of color and elegance. This comprehensive guide provides aspiring and experienced gardeners alike with detailed insights into the art of How To Grow Daylily(Hemerocallis . From selecting the right varieties and preparing the soil to ensuring proper care and propagation, this guide covers every aspect of growing daylilies to help you create a garden filled with these exquisite flowers. Let’s start…..
Botanical Name– Hemerocallis
Genus-Hemerocallis
Family-Asphodelaceae (formerly Hemerocallidaceae)
Common Name-Daylily
Plant Type-Perennial
Plant Size-12 inches to 48 inches in height, with a spread of 12 to 24 inches.
Flower Color– shades of yellow, orange, red, pink, purple, and bi-color
Blooming Time– from late spring through early fall.
Note -The exact timing can be influenced by factors such as climate, location, and specific cultivar characteristics. Some daylilies are early bloomers, starting in late spring, while others continue to produce flowers well into the summer and fall.
Tip-Regular deadheading (removing spent blooms) can encourage continuous blooming throughout the season.
Varieties
Before diving into the world of daylily cultivation, it’s essential to choose the right varieties to suit your garden’s aesthetics and environmental conditions. Daylilies come in a vast array of colors, sizes, and forms. Some popular varieties include:
- Stella de Oro-Known for its prolific golden-yellow blooms and compact size, this variety is a favorite among gardeners.
- Happy Returns-A reblooming variety with lemon-yellow flowers, Happy Returns adds a cheerful touch to any garden.
- Purple de Oro-This daylily features striking purple flowers with a yellow throat, offering a captivating contrast.
- Pardon Me-With vibrant red blooms and a compact habit, Pardon Me is perfect for small gardens or container planting.
- Hyperion-This classic daylily boasts fragrant, lemon-yellow flowers and tall, sturdy stems.
Consider factors such as bloom time, height, and color when selecting daylily varieties to create a well-balanced and visually appealing garden.
Location and Soil Preparation
Daylilies are versatile plants that thrive in a variety of conditions, but providing them with the right environment ensures optimal growth and bloom. Follow these steps for site selection and soil preparation:
- Sunlight– Daylilies prefer full sun to partial shade. Choose a location that receives at least 6 hours of direct sunlight daily.
- Well–Drained Soil-Ensure the soil is well-drained to prevent waterlogged conditions, which can lead to root rot. Amending heavy clay soil with organic matter enhances drainage.
- Soil pH– Daylilies thrive in slightly acidic to neutral soil (pH 6.0-7.0). Test the soil and adjust the pH if necessary with lime for acidity or sulfur for alkalinity.
- Spacing-Plant daylilies about 18 to 24 inches apart to allow for proper air circulation and prevent overcrowding.
- Mulching-Apply a layer of organic mulch, such as shredded bark or compost, to conserve soil moisture, suppress weeds, and regulate soil temperature.
Planting Daylilies
Planting daylilies is a straightforward process, but attention to detail during this stage sets the foundation for their success:
- Planting Time-Spring or early fall is the ideal time to plant daylilies. This allows the plants to establish roots before the onset of extreme temperatures.
- Digging Holes-Dig holes that are twice the width of the daylily’s root system and deep enough to accommodate the roots without bending or crowding.
- Positioning the Plant-Place the daylily in the center of the hole with the crown (where the roots meet the foliage) at ground level.
- Backfilling and Watering– Fill the hole with soil, firming it gently around the roots. Water thoroughly to eliminate air pockets and encourage settling.
- Fertilization– Incorporate a balanced, slow-release fertilizer into the soil during planting to provide essential nutrients.
- Topdressing-Apply a thin layer of compost or well-rotted manure around the base of the plants to enhance soil fertility.
Watering and Care
Proper watering and care are crucial for the health and vigor of daylilies. Follow these guidelines to ensure your plants thrive:
- Watering Schedule- Daylilies prefer consistently moist soil. Water deeply when the soil is dry to the touch, but avoid waterlogged conditions.
- Drip Irrigation-Consider using drip irrigation or soaker hoses to deliver water directly to the soil and minimize moisture on the foliage, reducing the risk of diseases.
READ ALSO:-HOW TO GROW AND CARE FOR SILVER SQUILL
- Deadheading- Remove spent blooms regularly to encourage continuous flowering and prevent the plant from putting energy into seed production.
- Fertilization-Apply a balanced, slow-release fertilizer in early spring as new growth emerges. Avoid excessive nitrogen, which can result in lush foliage at the expense of flowers.
- Division– Divide overcrowded daylily clumps every 3-5 years in early spring or fall. This promotes better air circulation and rejuvenates the plants.
- Pest and Disease-Keep an eye out for pests like aphids and spider mites. Treat with insecticidal soap or neem oil if necessary. Fungal diseases can be minimized by providing adequate spacing and good air circulation.
Propagation of Daylilies
Daylilies are easily propagated, allowing you to expand your collection or share them with fellow gardening enthusiasts. The primary methods of daylily propagation are:
- Division– As mentioned earlier, dividing established clumps is a common method. Use a sharp shovel to lift the clump, separate individual fans, and replant them.
- Seed Propagation-Daylilies can be grown from seeds, although this method takes longer to produce flowering plants. Collect seeds from mature pods, plant them in seed trays, and provide a period of cold stratification before germination.
- Offsets or Pups-Some daylily varieties produce offsets or pups around the base of the main plant. Carefully detach these smaller plants with roots and replant them in a suitable location.
Propagation allows you to maintain or share specific varieties, and it’s an exciting aspect of daylily cultivation for enthusiasts.
Overwintering and Winter Care
While daylilies are hardy perennials, providing some winter care ensures their resilience and vigor come spring:
- Mulching-Apply a layer of mulch around the base of daylilies in late fall to insulate the soil and protect the plants from temperature fluctuations.
- Cutting Back Foliage-After the first hard frost, trim back the foliage to about 4-6 inches above the ground. This helps prevent diseases and tidies up the garden.
- Dividing in Fall-If you didn’t divide your daylilies in spring, consider doing it in the fall to rejuvenate the plants and maintain their health.
- Protecting Container Plants– If growing daylilies in containers, move the pots to a sheltered location or provide insulation around the containers to prevent freezing.
- Avoiding Waterlogged Conditions-Ensure that the soil drains well to prevent waterlogging, which can lead to root rot during winter.
By implementing these winter care practices, you’ll set the stage for vibrant and healthy daylilies when the growing season returns.
Common Daylily Pests and Diseases
While daylilies are relatively resilient, they can face challenges from pests and diseases. Familiarize yourself with common issues and their management:
- Aphids-These small insects can cluster on new growth, causing distortion and stunting. Use insecticidal soap or a strong stream of water to dislodge them.
- Spider Mites– Tiny arachnids that suck sap, spider mites can cause stippling on leaves. Regularly hose down plants and use neem oil for control.
- Thrips-Thrips feed on flower buds, causing them to become discolored and distorted. Insecticidal soap or neem oil can help manage thrip infestations.
- Daylily Rust-A fungal disease that appears as orange-brown spots on leaves. Provide adequate spacing, ensure good air circulation, and treat with fungicides if necessary.
- Crown Rot-This disease occurs in waterlogged conditions. Improve drainage and avoid overwatering to prevent crown rot.
Regular inspection and prompt intervention help maintain the overall health of daylilies and keep them free from severe pest and disease issues.
Cultivating daylilies is a rewarding endeavor that brings beauty and charm to any garden. By selecting the right varieties, preparing the soil, and providing proper care, gardeners can enjoy a continuous display of vibrant blooms throughout the growing season. Remember to consider environmental factors, such as sunlight and soil drainage, and incorporate practices like deadheading and division to ensure the long-term health of your daylilies. Whether you’re a novice gardener or a seasoned enthusiast, the joy of growing daylilies lies in their adaptability, resilience, and the endless array of colors and forms they bring to your outdoor haven. With the insights gained from this comprehensive guide, you’re well-equipped to embark on a journey of cultivating radiance with daylilies in your own garden. Happy Gardening…..


