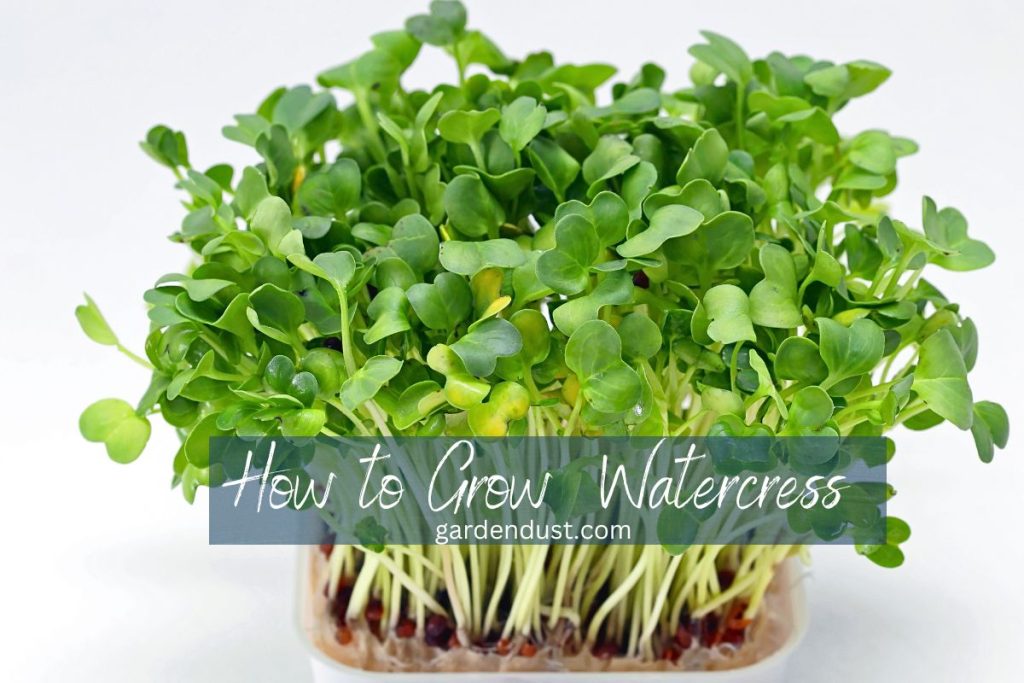
Watercress (Nasturtium officinale) is a nutrient-rich leafy green that has been cherished for centuries due to its distinctive peppery taste and numerous health benefits. Packed with vitamins, minerals, and antioxidants, watercress is a versatile and easy-to-grow plant that can thrive in various conditions. In this comprehensive guide, we will delve into the art of How to Grow and Care for Watercress, enabling you to harness its potential in your own garden or indoor space. Let’s start….
Botanical Name- Nasturtium officinale
Family- Brassicaceae
Genus-Nasturtium
Native-Europe and Asia
Common Name- Watercress
Plant Type- Herbaceous Perennial
Plant Size- height of 12-18 inches (30-45 cm), spread of 18-24 inches (45-60 cm)
Care for Watercress
Sunlight
Watercress thrives in partial shade to full sunlight. While it can tolerate some shade, providing at least 4-6 hours of direct sunlight daily is ideal for optimal growth. In regions with hot summers, providing afternoon shade can help prevent the plant from wilting.
Water
Watercress is a water-loving plant, and maintaining consistent moisture is crucial. If grown in a garden bed, the soil should remain consistently moist, and the plant benefits from being planted near a water source or in an environment with flowing water. In containers, ensure that the water level is at least 2 inches deep to mimic the plant’s natural habitat. Regular watering is essential, especially during dry periods, but avoid waterlogged conditions.
READ ALSO:-How to Grow Lettuce
Fertilizer
Watercress benefits from regular feeding to support its rapid growth and nutrient needs. Use a balanced liquid fertilizer every 2-3 weeks during the growing season. Additionally, incorporating organic matter such as compost into the soil before planting provides essential nutrients for healthy development. Be cautious not to over-fertilize, as excessive nutrients can lead to a decline in flavor and quality.
Soil Requirement
Watercress prefers fertile, well-draining soil that is rich in organic matter. The soil should be slightly acidic to neutral, with a pH range between 6.0 and 7.0. If possible, amend the soil with compost or well-rotted manure before planting to enhance its nutrient content. Good drainage is crucial to prevent waterlogged conditions, as watercress does not tolerate standing water around its roots.
How To Grow In Water
Growing watercress in water is a straightforward process. Use a shallow container with at least 2 inches of water, and either float watercress seeds or place cuttings directly on the water’s surface. Ensure the water is clean and free of pollutants. Position the container in a location with bright, indirect light. Monitor and maintain the water level, providing a balanced liquid fertilizer every 2-3 weeks for essential nutrients. This hydroponic method eliminates the need for soil, making it a convenient option for cultivating peppery watercress both indoors and outdoors.
Pruning
Pruning watercress helps encourage bushier growth and prevents the plant from becoming too leggy. Harvesting can begin when the plant reaches a height of 4-6 inches. Snip the leaves just above the waterline or soil level using clean scissors or pruning shears. Regular harvesting promotes continuous growth and ensures a fresh and flavorful supply.
Common Pests and Diseases
While watercress is relatively resistant to pests and diseases, it’s essential to monitor for potential issues. Common pests include aphids and slugs. Use natural remedies like neem oil or introduce beneficial insects to control pest populations. Ensure proper air circulation to prevent fungal diseases, and promptly remove any damaged or infected foliage.
Overwintering
In colder climates, watercress can be overwintered for a year-round supply. If growing in containers, move them indoors to a cool but bright location. In garden beds, cover the plants with a layer of mulch to protect them from frost. Be attentive to watering during winter, as indoor environments may be drier.
Propagation of Watercress
Watercress can be propagated from seeds or cuttings. When using seeds, sow them thinly on the soil surface, covering lightly and maintaining moisture until germination. Transplant seedlings once they reach a suitable size. For cuttings, take stem cuttings with at least two nodes, remove lower leaves, and place them in water until roots develop. Transplant rooted cuttings to the desired location. This simple propagation process allows for easy expansion of watercress cultivation, ensuring a consistent supply of this flavorful and nutritious green.
Harvesting of Watercress
Harvesting watercress is a straightforward process that encourages continuous growth and ensures a fresh supply for culinary use. Begin harvesting when the plant reaches a height of 4-6 inches. Using clean scissors or pruning shears, snip the leaves just above the waterline or soil level. Regular harvesting, typically every two to three weeks, promotes bushier growth and prevents the plant from becoming too leggy. Harvesting should be done in the morning when the leaves are at their freshest and most flavorful. Be mindful not to remove more than one-third of the plant at a time to allow for ongoing regrowth. With proper harvesting techniques, you can enjoy a steady and abundant yield of peppery watercress throughout the growing season.
Growing and caring for watercress is a rewarding endeavor that brings fresh, peppery flavors and a wealth of nutrients to your table. By understanding the plant’s preferences and following these comprehensive guidelines, you can successfully cultivate watercress in various settings, whether it be a traditional garden bed, a container on your balcony, or even an indoor hydroponic system. Embrace the journey of nurturing this vibrant green, and enjoy the satisfaction of harvesting your homegrown watercress for culinary delights and enhanced well-being. Happy Gardening….