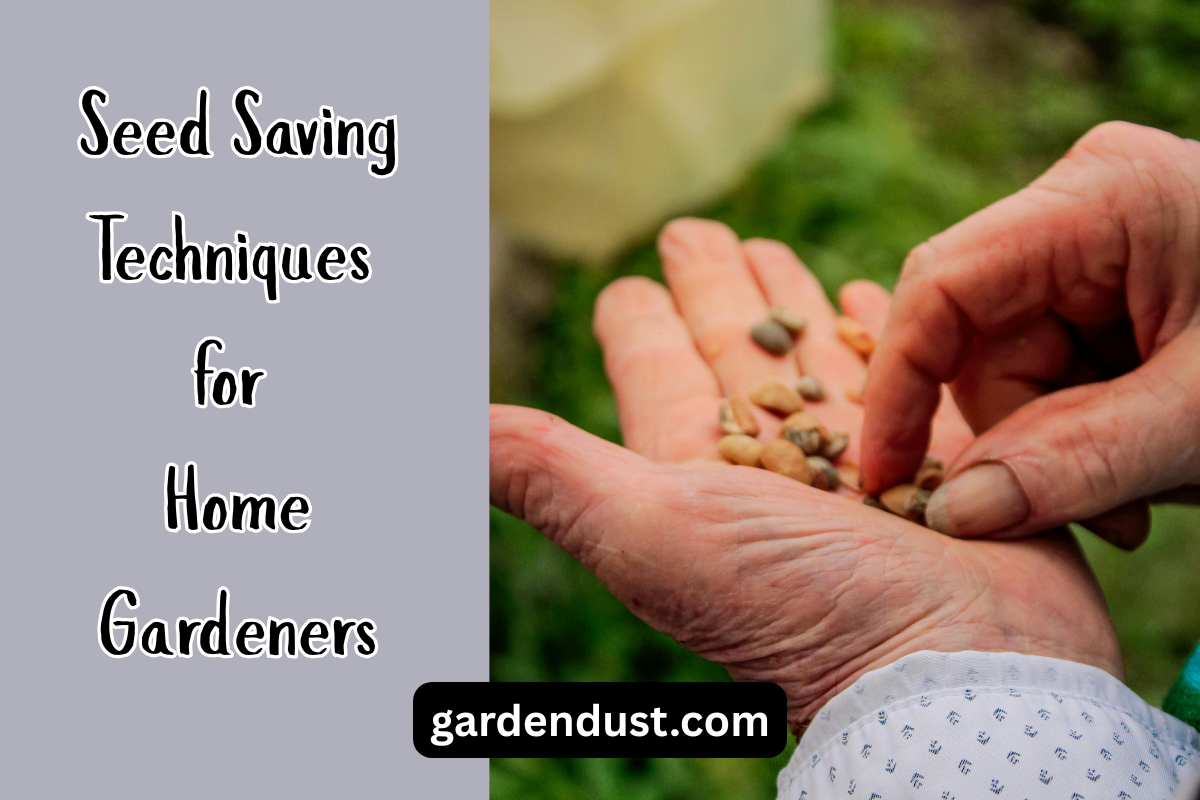
Okra, also known as lady’s fingers, is a warm-season vegetable that is loved for its tender pods and versatile culinary uses. Originating from Africa, okra thrives in hot and sunny climates, making it an excellent choice for gardeners in tropical and subtropical regions. However, with some careful planning and attention to its needs, even gardeners in temperate climates can successfully grow this delicious and nutritious vegetable. In this comprehensive guide, we will explore in detail how to grow and care for okra, ensuring a bountiful harvest and a delightful addition to your garden.
Grow And Care Tips :-
Selecting the Right Variety
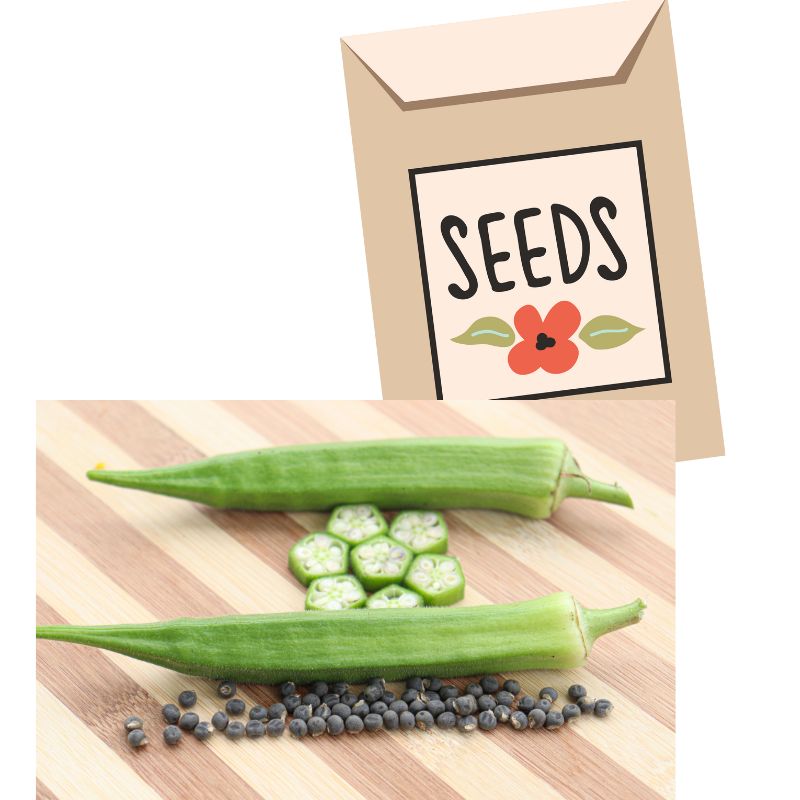
Okra comes in various varieties, differing in size, color, and growth habits. Some popular cultivars include Clemson Spineless, Emerald, Annie Oakley II, and Burgundy. When selecting a variety, consider factors such as your climate, available space, and intended culinary uses. Clemson Spineless is a widely grown variety due to its lack of spines, making it easier to handle during harvest.
Timing and Location

Okra is a warm-season crop that requires plenty of sunlight to flourish. It thrives in temperatures between 70°F to 95°F (21°C to 35°C). Therefore, it is crucial to plant okra when the threat of frost has passed and the soil temperature reaches around 65°F (18°C) or higher. In colder climates, consider starting okra seeds indoors and transplanting them outdoors when the weather warms up.
Choose a sunny location for your okra plants, as they need at least 6-8 hours of direct sunlight each day. Additionally, ensure that the planting site has well-draining soil to prevent waterlogged roots, which can lead to rot and other diseases.
Soil Preparation:

Before planting okra seeds or transplants, prepare the soil to create an optimal growing environment. Okra prefers soil with a pH of 6.0 to 6.8. Conduct a soil test to check the pH and fertility levels. Incorporate organic matter, such as compost or well-rotted manure, into the soil to improve its structure and nutrient content.
Planting Okra Seeds
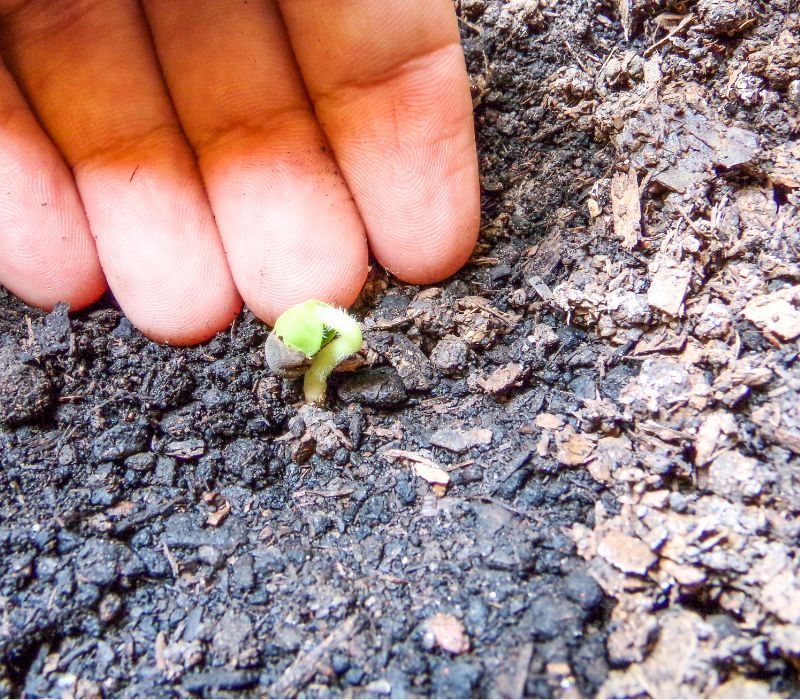
If you are starting okra from seeds, sow them directly into the prepared soil once all danger of frost has passed. Plant the seeds about 1 inch (2.5 cm) deep and 3 to 4 inches (7.5 to 10 cm) apart. Space the rows at least 2 to 3 feet (60 to 90 cm) apart to allow sufficient room for the plants to grow.
If you are transplanting okra seedlings, wait until they are 4 to 6 inches (10 to 15 cm) tall and have developed a few true leaves. Transplant them carefully, ensuring the roots are not disturbed or damaged in the process.
Watering

Okra plants need regular and consistent watering, especially during hot and dry periods. Keep the soil evenly moist but avoid overwatering, as okra does not tolerate waterlogged conditions well. Using a drip irrigation system or soaker hoses is a good way to provide a steady water supply directly to the roots.
Fertilization
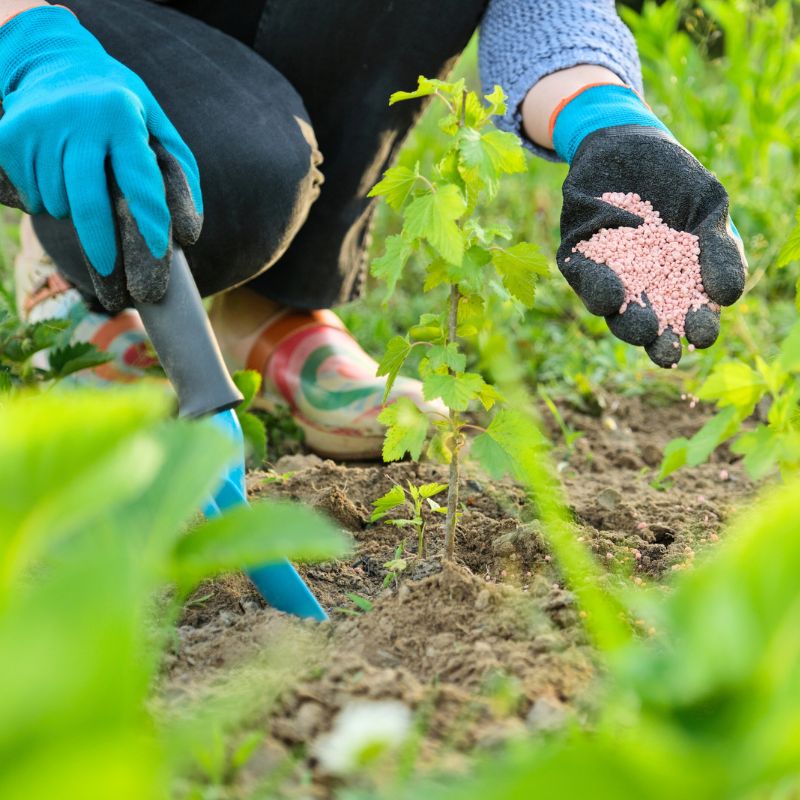
Okra is a relatively heavy feeder and benefits from regular fertilization. Incorporate a balanced fertilizer, such as a 10-10-10 or 20-20-20, into the soil before planting. As the plants grow, side-dress them with compost or a nitrogen-rich fertilizer every 4 to 6 weeks to encourage healthy growth and fruit production.
Mulching
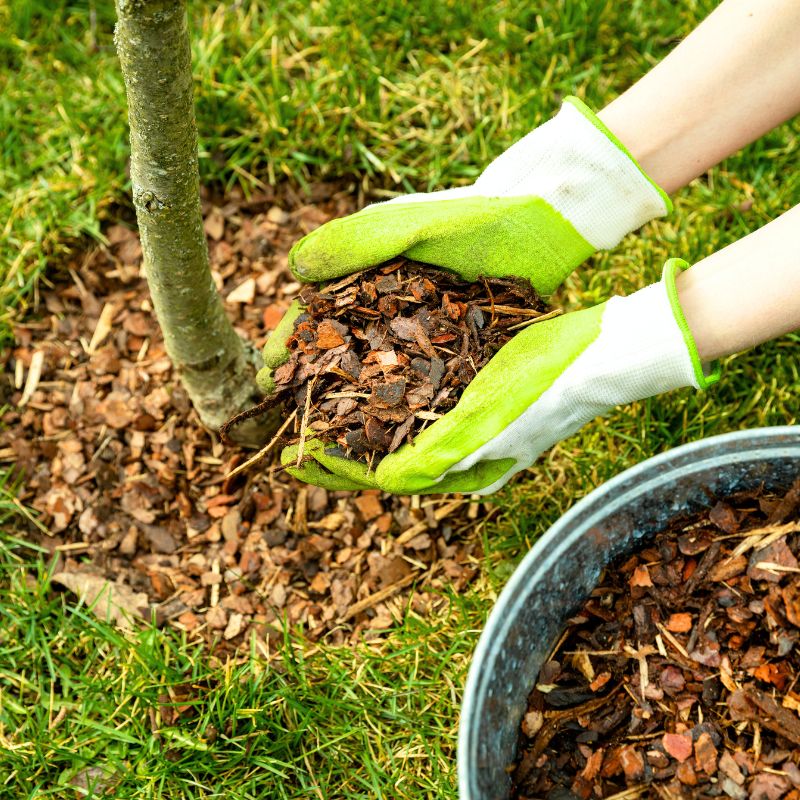
Mulching around okra plants can help retain soil moisture, suppress weeds, and maintain a more consistent soil temperature. Apply a layer of organic mulch, such as straw or shredded leaves, around the base of the plants, taking care not to cover the stems.
Supporting Okra Plants

Some okra varieties can grow quite tall and may benefit from support to prevent them from toppling over in windy conditions. Consider using stakes or small trellises to provide support to the plants without causing damage to the roots.
Pruning

Unlike some other vegetable plants, okra does not require extensive pruning. However, removing any damaged or diseased leaves can help promote better air circulation and reduce the risk of fungal diseases.
Pest and Disease Management

Okra is relatively resilient and less prone to pest and disease issues. However, common garden pests like aphids, spider mites, and caterpillars can occasionally be problematic. Inspect your plants regularly and take prompt action if you notice any signs of pest infestations.
Regarding diseases, okra can be susceptible to fungal infections, such as powdery mildew and damping-off. To prevent these issues, provide good air circulation, avoid overcrowding, and maintain proper watering practices.
Harvesting Okra

Harvesting okra at the right time is crucial for the best flavor and tenderness. Okra pods are ready to be picked when they are 2 to 4 inches (5 to 10 cm) long and still tender. Harvest the pods every 2 to 3 days to encourage continuous production throughout the growing season.
To harvest, use a sharp knife or pruning shears to cut the stem just above the cap of the pod. Be gentle to avoid damaging the plant or nearby pods.
Growing and caring for okra can be a rewarding experience, yielding a delightful bounty of tender and flavorful pods. By selecting the right variety, providing adequate sunlight, water, and nutrients, and addressing any pest or disease issues promptly, you can ensure a successful okra harvest. With some patience and attention, your okra plants will thrive, adding a touch of tropical goodness to your home garden and culinary creations. So, roll up your sleeves, plant some okra, and get ready to enjoy the delicious and nutritious rewards of this versatile warm-season vegetable! Happy gardening…..