Pansies, scientifically known as Viola tricolor var. hortensis, are a beloved and enchanting addition to gardens, window boxes, and landscapes worldwide. With their distinctive “faces,” vibrant hues, and delicate yet hardy nature, these cool-season annuals or short-lived perennials have captured the hearts of gardeners for generations. In this introduction to pansies, we’ll explore the origins, characteristics, and the enduring appeal of these delightful flowers.
Propagating pansies from seeds is a straightforward and cost-effective method, allowing you to grow a wide variety of pansy plants with different colors and characteristics. Here’s a detailed guide on How to plant pansy from Seeds. Let’s start…
Step -1 Gather Your Supplies:
Before you start, make sure you have the following supplies on hand:
- Pansy seeds
- Seed trays or small pots
- Seed-starting mix
- Watering can or spray bottle
- Plastic wrap or a clear plastic dome
- Light source (indirect sunlight or grow lights)
- Optional: Seedling heat mat (to maintain soil temperature)
Tip:- Choose high-quality pansy seeds from a reputable supplier or save seeds from your existing pansy plants. Different pansy varieties offer various flower colors and patterns, so select the seeds based on your preferences.
Step -2 Planting Pansy Seeds:
Follow these steps to plant pansy seeds successfully:
a. Prepare the Seed Trays or Pots:
- Fill the seed trays or small pots with a seed-starting mix. This mix should be light, well-draining, and sterile to prevent diseases.
- Moisten the seed-starting mix with water until it’s evenly damp but not soggy.
b. Sow the Seeds:
- Sprinkle the pansy seeds evenly over the surface of the seed-starting mix. Pansy seeds are tiny, so try to space them out as evenly as possible.
- Gently press the seeds into the soil using a flat board or the bottom of another pot. This ensures good seed-to-soil contact without burying the seeds too deep.
c. Cover the Seeds:
- Cover the seed trays or pots with a plastic dome or plastic wrap to create a mini-greenhouse effect. This helps maintain humidity around the seeds and promotes germination.
- If you’re using a seedling heat mat, place the trays or pots on the mat to maintain a consistent soil temperature (around 60-70°F or 15-21°C), which encourages germination.
d. Provide Light:
- Place the seed trays or pots in a location with indirect sunlight or under grow lights. Pansy seeds require light to germinate, so avoid placing them in complete darkness.
- Keep the lights on for about 12-16 hours a day to provide adequate light for seedlings once they emerge.
Germination:
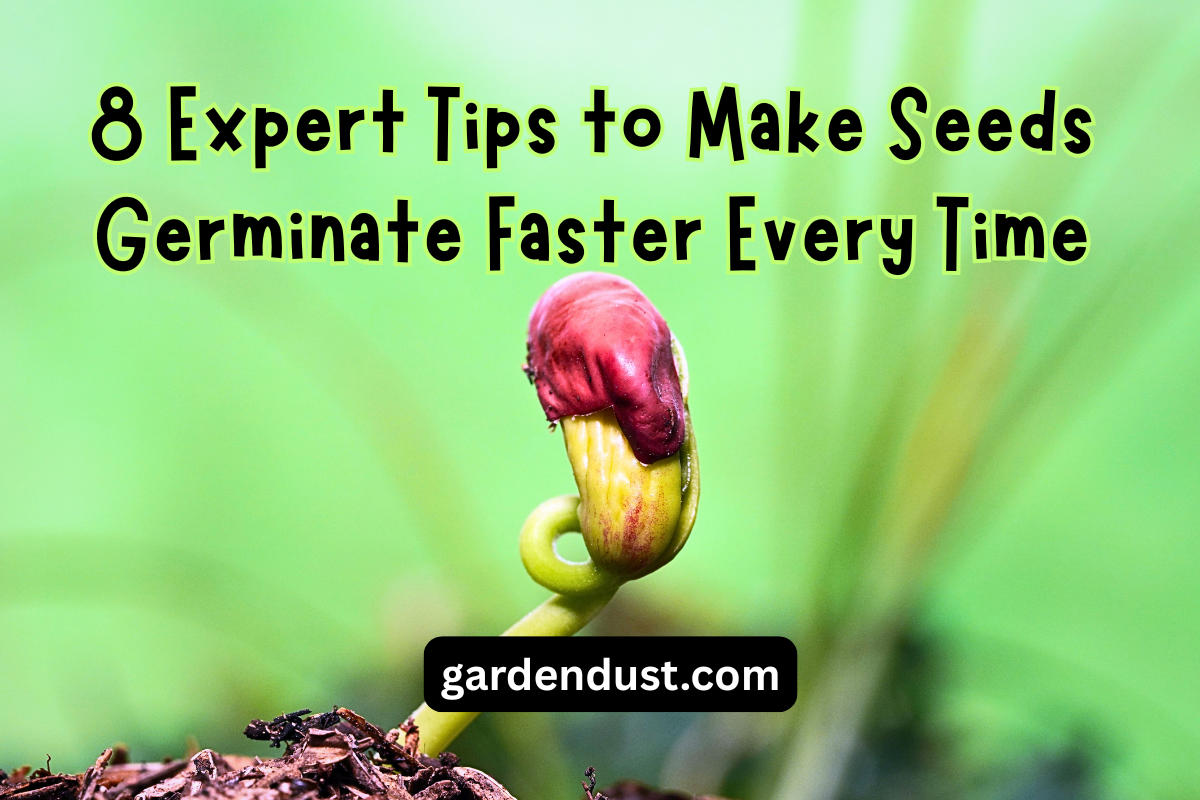
Pansy seeds typically germinate in 7-14 days, but it can take longer in cooler conditions. Keep an eye on the trays or pots for signs of seedlings emerging.
Step -3 Transplanting Seedlings:
Once the pansy seedlings have developed at least two sets of true leaves and are large enough to handle, they can be transplanted into larger pots or directly into your garden. Here’s how to do it:
a. Transplanting into Pots:
- Fill larger pots with potting soil, leaving enough space at the top for the seedlings.
- Carefully lift the seedlings from the seed trays or pots, taking care not to damage the delicate roots.
- Plant the seedlings in the larger pots, making a hole in the soil with a small stick or your finger and gently placing the seedling in it.
- Water the seedlings immediately after transplanting to settle the soil and hydrate the roots.
b. Transplanting into the Garden:
- Choose a location in your garden that receives partial to full sunlight, as pansies require sunlight for optimal growth.
- Prepare the garden bed by amending the soil with compost and ensuring it’s well-draining.
- Space the seedlings according to the recommended spacing for the specific pansy variety you’re planting.
- Dig small holes for each seedling, place them in the holes, and gently pat the soil around them.
- Water the transplanted seedlings thoroughly to help them establish in their new home.
Important Care and Maintenance:
- Water the seedlings regularly to keep the soil consistently moist but not waterlogged.
- Apply a balanced, liquid fertilizer at half-strength every 3-4 weeks to promote healthy growth.
- Protect young pansy seedlings from pests like aphids and slugs by using appropriate pest control methods.
- Thin out overcrowded seedlings if necessary to ensure proper spacing.
- With proper care, your pansy seedlings will grow into healthy, vibrant plants that will grace your garden with their beautiful blooms, adding color and charm to your outdoor space.
Pansies, with their captivating charm and adaptability, have earned a special place in the hearts of gardeners and flower enthusiasts around the world. Whether you’re planting them in your garden, brightening up your window boxes, or using them to garnish your culinary creations, pansies bring a touch of elegance and color to every space they grace. Their timeless appeal and unique “faces” continue to make them a favorite choice for gardeners looking to add beauty and personality to their outdoor environments. So, consider adding these delightful blooms to your garden and experience the joy of pansies for yourself. Happy Gardening…


