Why Grow Garlic in Containers?
Growing your own garlic is a very fulfilling task. The varieties available to home growers are far more diverse and flavorful than what you can find at the grocery store. Plus, growing garlic is pretty easy, even in containers!
Container gardening offers several advantages:
- Perfect for small spaces, balconies, and patios
- Better control over soil conditions
- Fewer problems with pests and weeds
- Ability to move plants as needed for optimal sunlight
- Easier to protect from extreme weather conditions
Did You Know?
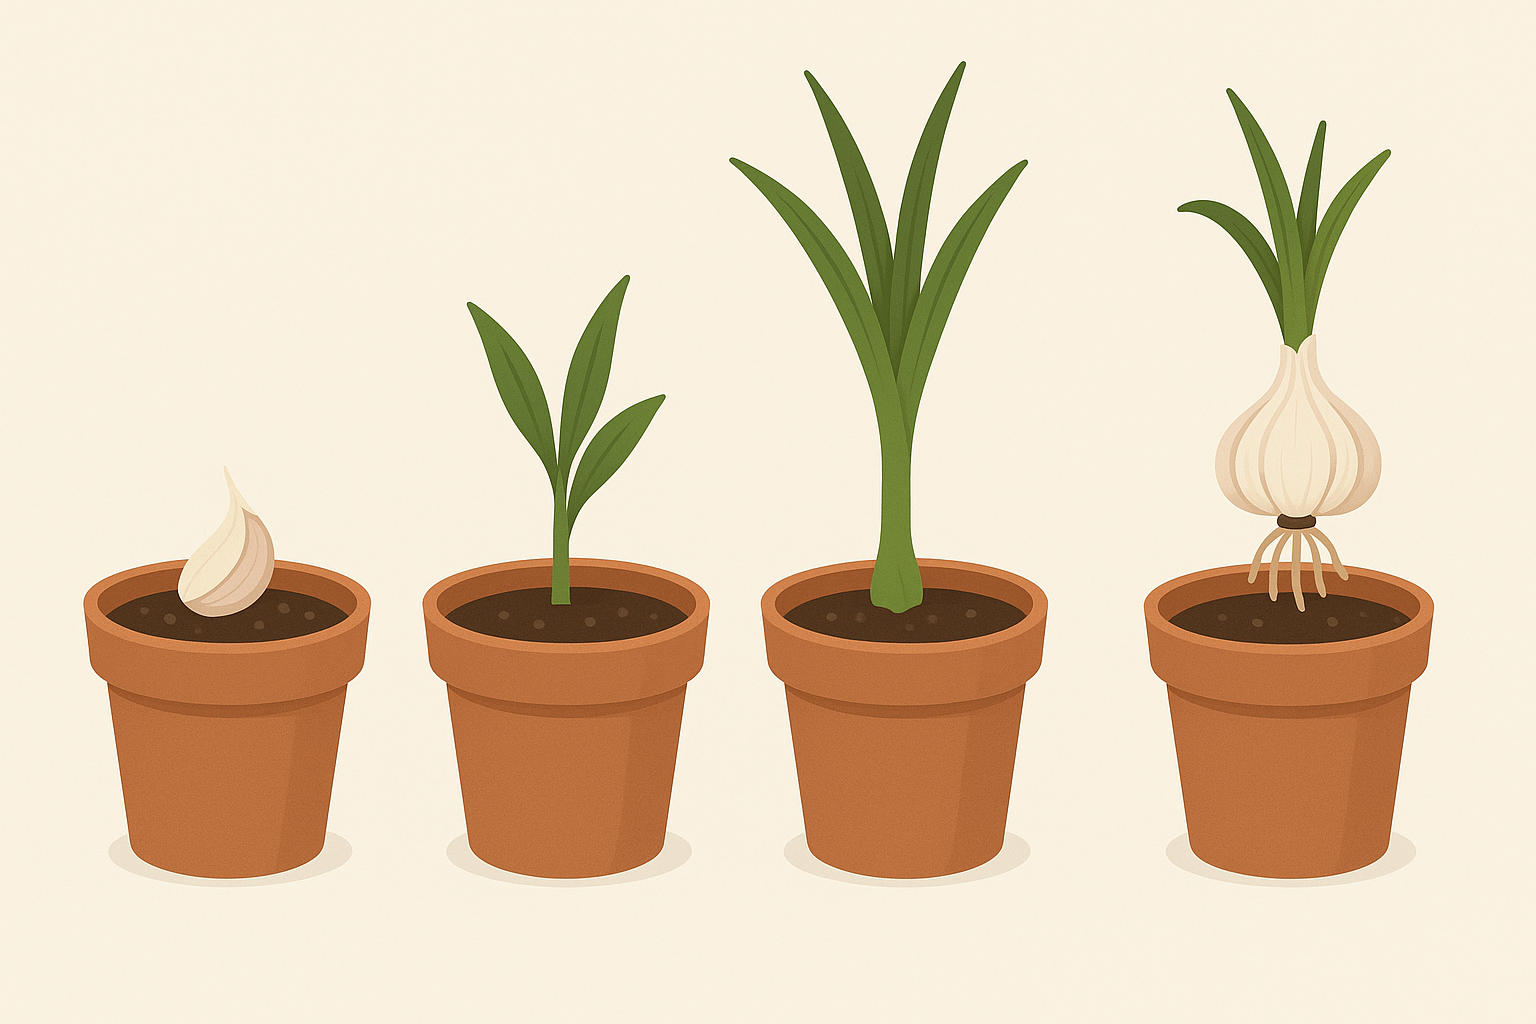
Garlic has a long growing season. It takes about 8 to 9 months for a small planted garlic clove to develop into a ready-to-harvest head of garlic. Typically, in cooler climates, the cloves are planted in the autumn (usually around the time of your first frost) and the heads aren’t harvested until the following summer.
Choosing the Right Garlic Type
There are two main types of garlic for growing in containers or in the ground. Your climate will help determine which type is best for your situation:
Hardneck Garlic
- Best for cold climates with freezing winters
- Produces a flowering stem called a “scape”
- Larger, but fewer cloves per head
- Stronger, more complex flavor
- Shorter storage life (4-6 months)
- Requires 6-8 weeks of temperatures below 45°F
Softneck Garlic
- Best for mild climates without harsh winters
- No flowering stem
- More numerous, but smaller cloves
- Milder, sweeter flavor
- Longer storage life (up to 12 months)
- Easier to braid for storage
Tip for Warm Climates
If you live in a warmer climate that doesn’t receive at least 6 to 8 weeks of temperatures below 45°F, you have one of two options:
- Grow softneck garlics by planting them in the fall, or
- Pre-chill hardneck garlics to “fake winter” by placing the bulbs in a paper bag in the crisper drawer of your refrigerator for about 8 weeks before planting in early spring.
Selecting the Perfect Container
When choosing a container for growing garlic, several factors are important to consider:
Container Size
Your selected container needs to be at least 8 inches deep to allow ample room for roots to grow. The width determines how many cloves you can plant – each clove needs about 4-6 inches of space.
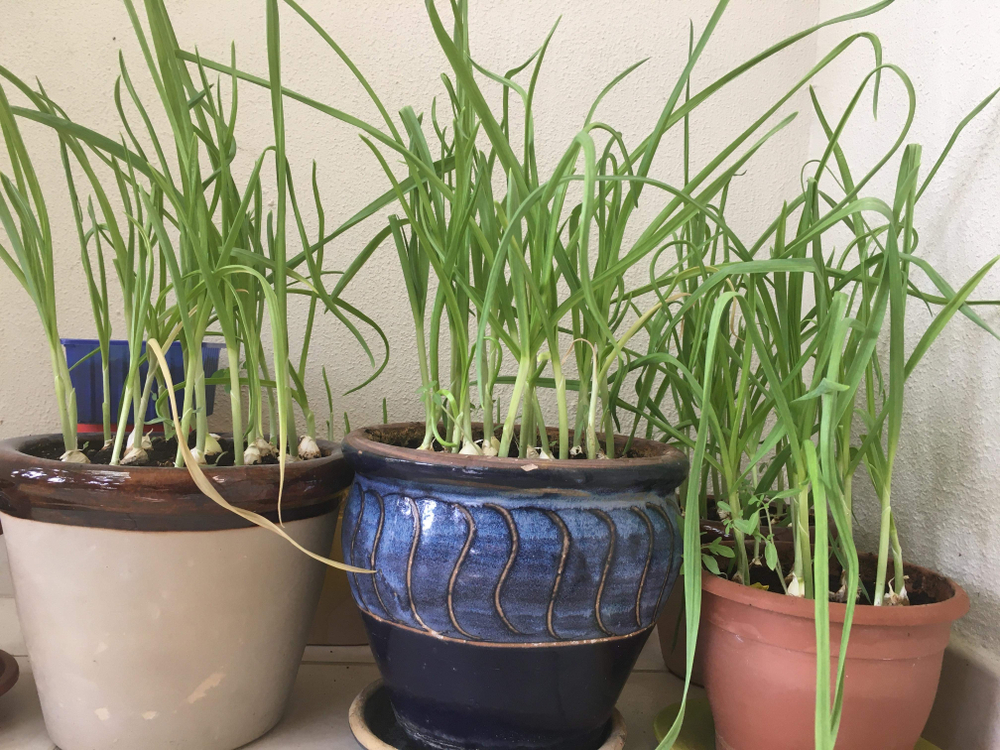
Material Matters
While terra cotta pots are popular, they are not the best option for growing garlic. Their porous nature requires frequent watering, and they can crack in freezing temperatures.
Instead, choose one of these options:
- Plastic containers – Lightweight, retain moisture well, and won’t crack in winter
- Glazed ceramic – Attractive and frost-resistant (ensure they’re labeled as “frost-proof”)
- Fiberstone or plasti-stone – Durable and weather-resistant
Essential Features
- Drainage holes are absolutely necessary
- Frost-proof material if leaving outdoors in winter
- Large enough to space cloves 3-4 inches apart
/growing-garlic-in-containers-848231-hero-61d50b47dcbc430c8ca99607fb841efa.jpg)
Container Guidelines
- Small pot (6″ diameter): Plant 2-3 cloves
- Medium pot (10-12″ diameter): Plant 4-6 cloves
- Large pot (18-22″ diameter): Plant 8-12 cloves
Preparing the Perfect Soil Mix
Soil quality is critical for growing healthy garlic. The ideal soil mix serves two important purposes:
- Drainage – prevents cloves from rotting, especially during winter months
- Fertility – provides nutrients for healthy growth and bulb development
The Ideal Soil Recipe
Mix these components for optimal growing conditions:
- 75% high-quality potting soil
- 25% compost
- 2-3 tablespoons of bulb-specific organic fertilizer
This blend creates a well-draining yet nutritious environment that supports the long growth cycle of garlic. Make sure to thoroughly mix all components before filling your container.
Fertilizer Focus
Garlic is a bulb plant and requires phosphorous for proper bulb development. Use a granular organic fertilizer formulated specifically for bulbs to ensure your garlic receives the right nutrients.
Soil Tip
Avoid using garden soil in containers as it can become compacted, drain poorly, and potentially introduce pests or diseases. Always use a sterile potting mix as the base for container plantings.
Step-by-Step Planting Process
Timing Your Planting
Plant your garlic around the time of your first frost (typically fall). In cold climates, this is usually October or early November. In milder regions, you can plant in late November or early December.
Preparing the Garlic Cloves
Start with high-quality seed garlic from a reputable source (avoid using grocery store garlic). Gently break apart the head into individual cloves, keeping the papery skin intact. Select the largest cloves for planting; save smaller ones for cooking.
:strip_icc()/BHG-grow-garlic-in-pots-6749579-8a98a2c92f184260b1c1e8956ed11acb.jpg)
Planting the Cloves
Place each clove in the prepared soil with the pointed end facing up. The base of the clove should sit about 2-3 inches beneath the soil surface. Space cloves 3-4 inches apart. When planting in containers, you can simply push the cloves into the soil with your finger – no need for a trowel.
Adding Mulch
After planting, water the pot thoroughly. Then add a 1-2 inch layer of mulch (straw or finely shredded leaves work well) on top of the soil. This mulch layer helps insulate the cloves through winter and retains moisture.
Year-Round Care Instructions
Fall & Winter Care
-
Placement
Position your pot in a sunny location that receives at least 6-8 hours of sunlight daily.
-
Winter Protection
In cold climates, move the pot to a sheltered spot next to your house. Insulate the pot by piling fall leaves or straw around its sides (not on top). Alternatively, wrap the pot in bubble wrap for added insulation.
-
Watering
Keep the soil moist but not waterlogged. Water occasionally during winter thaws when the soil isn’t frozen.
Spring & Summer Care
-
Relocation
When spring arrives, move your pot back into full sun if you relocated it for winter.
-
Fertilizing
Apply another 2 tablespoons of granular organic bulb fertilizer on the soil surface in early spring.
-
Watering
Continue regular watering, never allowing the soil to dry out completely.
-
Scape Removal
For hardneck varieties, remove the curly flower stalk (scape) when it appears in early summer to redirect energy to the bulb.
Important Care Note
It is absolutely essential that you keep the pot watered throughout the garlic’s entire life cycle. Yes, that means occasional watering for 8-9 months, including during winter thaws when the soil isn’t frozen. Lack of consistent moisture is the most common reason for unsuccessful container garlic.
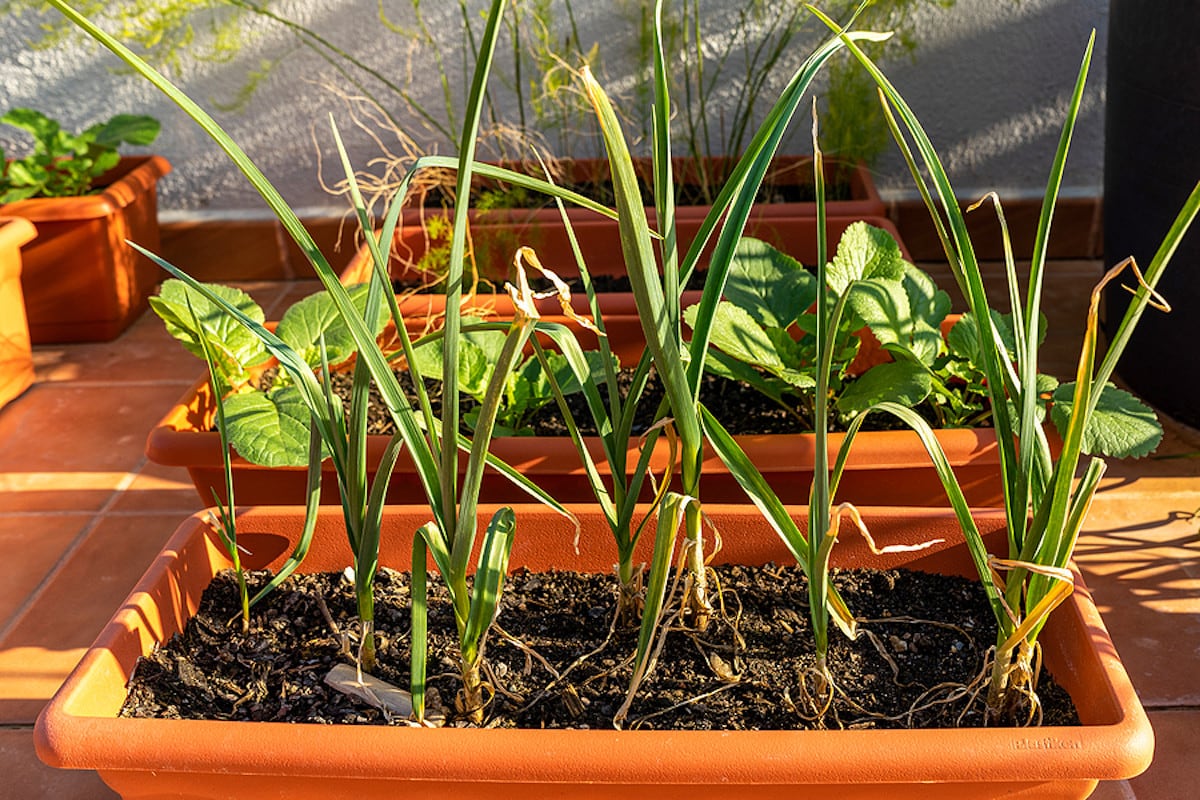
Harvesting and Storage
When to Harvest
Garlic is typically ready to harvest in early to mid-summer when:
- The lower leaves start turning yellow or brown
- About half (40-50%) of the foliage has yellowed
- There are still 5-6 green leaves remaining
Note: Don’t wait until all leaves have died back, as this can result in bulbs with split wrappers that won’t store well.
Harvesting Process
- Stop watering about 1-2 weeks before harvest to allow bulbs to begin drying
- For container garlic, simply dump out the entire pot
- Gently brush off excess soil, keeping the roots and stems attached
- Handle bulbs carefully to avoid bruising
Curing Process
Properly curing garlic is essential for long-term storage:
- Hang bundles of 8-10 plants or lay out in a single layer
- Choose a location that is dry, well-ventilated, and out of direct sunlight
- Cure for 2-4 weeks until the outer wrappers are papery and stems are completely dry
- After curing, trim roots and cut stems to about 1-2 inches above the bulb (or leave stems on softneck varieties for braiding)
Storage
For optimal storage:
- Store in a cool (50-60°F), dry place with good air circulation
- Never store in the refrigerator or in plastic bags (causes sprouting and mold)
- Hardneck varieties typically store for 4-6 months
- Softneck varieties can store for up to 9-12 months
Save Your Best for Planting!
Remember to save your largest, healthiest bulbs for replanting in the fall. This way, you’ll have a continuous, self-sustaining supply of garlic year after year, adapting to your specific growing conditions with each generation.
Troubleshooting Common Issues
Pests & Diseases
Garlic Rust
Symptoms: Orange or rusty spots on leaves
Solution: Improve air circulation, remove affected leaves, and ensure proper spacing between plants.
White Rot
Symptoms: Yellowing leaves, rotting bulbs with white fungal growth
Solution: No cure – remove and dispose of affected plants, do not reuse the soil for alliums.
Onion Maggots
Symptoms: Stunted growth, discolored foliage
Solution: Cover containers with floating row covers during fly season, practice crop rotation.
Growing Issues
Small Bulbs
Cause: Insufficient nutrients, crowding, or late planting
Solution: Use rich soil mix, space properly, plant at the right time, and fertilize in spring.
Sprouting Too Early
Cause: Warm fall temperatures or inconsistent watering
Solution: Plant later in the season and maintain even soil moisture.
Cloves Heaving Up
Cause: Freeze-thaw cycles, insufficient planting depth
Solution: Plant deeper (2-3 inches) and apply a thicker layer of mulch.
Rotting Cloves
Cause: Poor drainage or overwatering
Solution: Use well-draining soil mix and containers with adequate drainage holes.
Conclusion
Growing garlic in pots is a rewarding endeavor that requires some patience but minimal ongoing care. The home-grown flavor is incomparable to store-bought varieties, and the satisfaction of growing your own food is priceless.
With the right container, soil, and basic care, you can successfully grow garlic in pots whether you have a large garden, a small balcony, or just a sunny windowsill. The key is to remember the long growing season and provide consistent care throughout.
Start with quality seed garlic, plant it at the right time, and give it the attention it needs. In return, you’ll be rewarded with delicious, homegrown garlic that can enhance countless dishes throughout the year.
Happy Gardening…