Daffodils, known for their cheerful yellow, white, and orange trumpets, are among the first flowers to bloom in spring, signaling the end of winter. These hardy and reliable bulbs are easy to grow and naturalize beautifully, making them a favorite among gardeners of all skill levels. Whether you want to plant a few in containers or blanket a landscape with color, this comprehensive guide will walk you through everything you need to know to grow daffodils successfully.
- Botanical Name: Narcissus spp.
- Genus: Narcissus
- Family: Amaryllidaceae
- Common Name: Daffodil, Narcissus, Jonquil (some species)
- Native-Europe, particularly the Mediterranean region including the Iberian Peninsula (Spain and Portugal), and North Africa
- Blooming Season: Late winter to early spring (typically February to April)
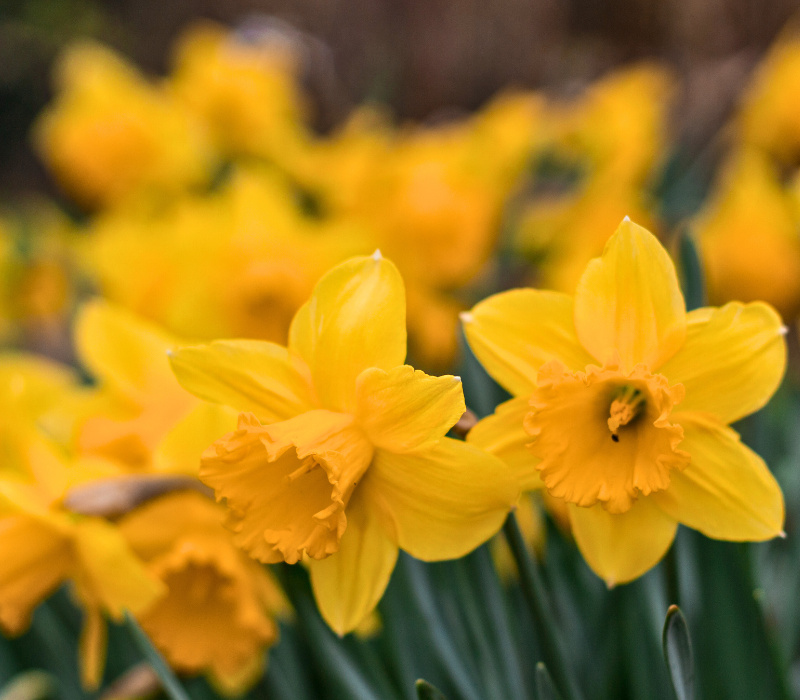
- Flower Colour: Primarily yellow and white; also available in shades of orange, pink, and bi-colour varieties
- Plant Type: Perennial bulb
- Plant Size: 6 to 20 inches tall (15 to 50 cm), depending on the variety
Key Features
- Deer and rodent resistant
- Require little maintenance once established
- Multiply naturally over time
- Ideal for borders, containers, woodlands, and lawns
Grow Daffodils -Step-by-Step Guide
Step 1: Choosing the Right Daffodil Varieties
Before planting, choose the types of daffodils that suit your climate, soil, and aesthetic preferences. Here are some popular categories:-
1. Trumpet Daffodils-These have a large central trumpet equal to or longer than the surrounding petals. Varieties like ‘King Alfred’ and ‘Mount Hood’ are classics.
2. Large-Cupped Daffodils-These have a cup more than one-third the length of the petals. Favorites include ‘Ice Follies’ and ‘Salome’.
3. Small-Cupped Daffodils-Their cups are shorter and offer a more delicate appearance. Look for ‘Barrett Browning’ or ‘Dreamlight’.
4. Double Daffodils-With layers of ruffled petals, these varieties add fullness to the garden. ‘Tahiti’ and ‘White Lion’ are excellent choices.
5. Miniature Daffodils-Perfect for containers or rock gardens, mini daffodils like ‘Tête-à-Tête’ provide early-season charm in small spaces.
Step 2: When and Where to Plant
Best Time to Plant-Plant daffodil bulbs in the fall, about 2 to 4 weeks before the ground freezes. This allows the bulbs to establish roots before winter dormancy.
Ideal Location-
- Sunlight: Choose a spot with full sun (6 hours or more) to partial shade. More sun ensures better flowering.
- Drainage: Avoid waterlogged soil. Daffodils will rot in standing water.
- Soil Type: They prefer slightly acidic to neutral soil (pH 6.0–7.0), rich in organic matter.
Step 3: Preparing the Soil
Soil Testing-Before planting, conduct a soil test to determine pH and nutrient levels. Amend as needed.
Soil Improvement Tips-
- Add compost or aged manure for fertility.
- Use sand or grit in heavy clay soil to improve drainage.
- Mix in bone meal or bulb fertilizer to boost phosphorus for root development.
Step 4: Planting Daffodil Bulbs
- Depth: Plant bulbs 6 to 8 inches deep (3 times the bulb’s height).
- Spacing: Space them 4 to 6 inches apart.
- Orientation: Pointed end up, roots down.
Tips-Grouping Strategy-Plant in odd-numbered clusters (5, 7, or more) for a more natural look, avoiding rigid rows unless you’re going for a formal design.
Step 5: Watering and Mulching
- Water thoroughly after planting to help settle the soil and initiate root growth. During the growing season.
- Keep the soil moist but not soggy.
- Reduce watering after blooming.
- Stop once the leaves begin to yellow and die back.
- Apply a 2–3 inch layer of organic mulch to retain moisture, suppress weeds, and protect the bulbs from frost.
Step 6: Caring for Daffodils Through the Seasons
Spring (Active Growth)-
- Fertilize lightly once foliage appears.
- Deadhead spent flowers to redirect energy to the bulb.
- Keep watering if rainfall is low.
- Late Spring to Early Summer (Post-Bloom)
- Allow foliage to die back naturally. This process can take 6–8 weeks.
- Do not cut leaves prematurely—they are crucial for photosynthesis and storing energy.
Summer (Dormancy)-
- No watering needed.
- Consider lifting and dividing bulbs if overcrowded or if bloom quality declines.
Fall (Pre-Planting or Division)
- Divide and replant if needed.
- Add fresh mulch for winter insulation.
Step 7: Fertilizing Daffodils
When to Fertilize-
- In fall during planting
- In early spring when shoots emerge
Fertilizer Types-
- Use a low-nitrogen, high-phosphorus fertilizer (e.g., 5-10-10 or 10-20-20).
- Bone meal or bulb food is excellent for encouraging root and flower development.
Tips -Avoid Overfertilization-Too much nitrogen can lead to lush leaves but fewer flowers.
Step 8: Dividing and Transplanting Daffodils
Signs It’s Time to Divide
- Smaller or fewer blooms
- Overcrowded clumps
- Declining vigor
How to Divide
- Wait until late spring or early summer after foliage dies back.
- Use a spade or fork to carefully lift bulbs.
- Separate the bulbs gently by hand.
- Discard any diseased or soft bulbs.
- Replant immediately or store in a cool, dry place until fall.
Step 9: Common Problems and How to Solve Them
1. No Blooms-
- Causes: Overcrowding, insufficient sunlight, premature foliage cutting, or too much nitrogen.
- Solutions: Divide bulbs, relocate to a sunnier spot, and adjust fertilization.
2. Rotting Bulbs
- Causes: Poor drainage or overwatering.
- Solutions: Improve soil drainage or lift and move to a drier site.
3. Pest Issues
- Rodents: Rarely bother daffodils, but squirrels may dig them up. Use wire mesh or repellents if needed.
- Narcissus Bulb Fly or Nematodes: Destroy infected bulbs and avoid replanting in the same spot for a year.
4. Leaf Scorch or Fungal Diseases
Solutions: Improve air circulation, avoid overhead watering, and use fungicides if necessary.
Step 10: Growing Daffodils in Containers
- Container Selection-Use a container at least 10–12 inches deep with drainage holes. Choose dwarf or miniature varieties for best results.
- Soil Mix-Use a well-draining potting mix enriched with compost and perlite or sand.
- Planting Tips-Plant 6–10 bulbs per pot for a dense display.
- Watering– Water well after planting and place in a cool, dark area for 12–16 weeks (cold treatment).
- Post-Chilling Care-Once green shoots appear, move pots to a sunny spot. Water as needed and enjoy the blooms indoors or outside.
Step 11: Naturalizing Daffodils in Lawns and Woodlands
Daffodils are ideal for naturalizing—spreading naturally to create sweeping drifts of spring color.
Tips for Naturalizing
- Choose vigorous varieties like ‘Carlton’ or ‘Dutch Master’.
- Scatter bulbs randomly and plant where they fall for a natural look.
- Allow grass to grow for 6–8 weeks after flowering before mowing.
- Woodland Planting Under deciduous trees, plant daffodils in clusters where they will get spring sunlight before the trees leaf out.
Step 12: Companion Planting with Daffodils
Good Companions-
- Tulips and hyacinths for layered spring blooms
- Crocuses for earlier color
- Hostas and ferns to hide fading daffodil foliage
- Daylilies and irises for extended color into summer
Plants to Avoid-Avoid shallow-rooted or water-demanding plants that may compete with daffodil bulbs for resources.
Step 13: Forcing Daffodils Indoors
- Forcing lets you enjoy daffodils indoors during the winter months.
- Forcing Process
- Plant bulbs in pots in fall.
- Chill at 35–48°F (2–8°C) in a dark place for 12–16 weeks.
- Bring into light and warmth once shoots appear.
- Keep moist and place in a sunny window.
- Varieties like ‘Paperwhite’ do not require chilling and are ideal for winter displays.
Final Thoughts
Daffodils are among the most rewarding flowers to grow in any garden. With minimal care, they return year after year, often multiplying and forming large, colorful drifts. Whether you’re a novice gardener or a seasoned horticulturist, the golden trumpets of daffodils will bring joy to your spring garden and signal the hopeful rebirth of the growing season.
By choosing the right varieties, planting at the correct depth and time, and following a seasonal care routine, you’ll ensure a thriving display that gets better with each passing year. Start planning your daffodil garden today—you won’t regret it when spring arrives in a blaze of golden glory. Happy Gardening…