
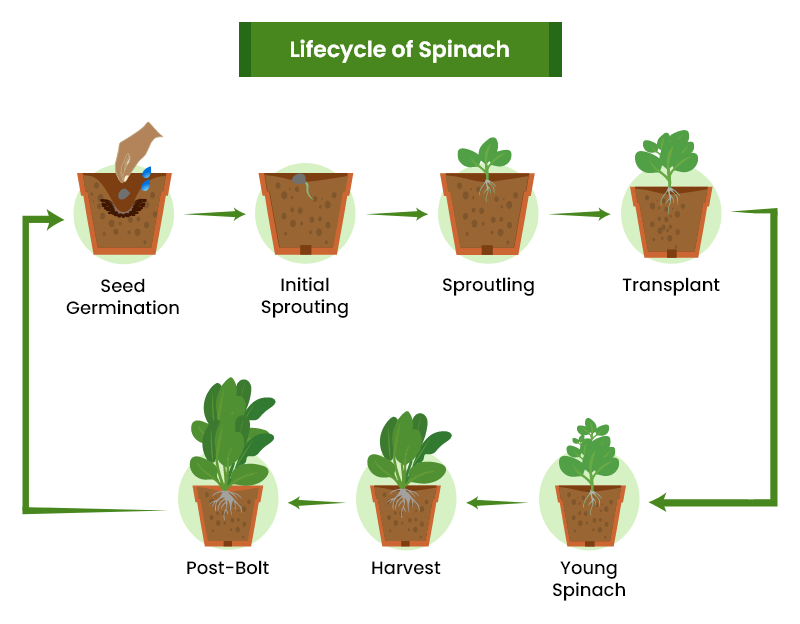
How to Grow Spinach: A Beginner’s Guide

Introduction
Spinach (Spinacia oleracea) is a nutrient-dense leafy green vegetable that’s perfect for beginning gardeners. It grows quickly, can be harvested multiple times, and thrives in cool weather. This versatile crop is rich in vitamins A, B, C, and K, plus iron, calcium, and antioxidants. Whether you’re planting in a garden bed or containers, this guide will walk you through everything you need to know to grow healthy, delicious spinach.
Spinach at a Glance
| Characteristic | Details |
|---|---|
| Growing Season | Cool weather: Spring and Fall |
| Days to Maturity | 30-45 days from seed |
| Light Requirements | Full sun to partial shade |
| Soil Type | Rich, loamy, well-draining |
| Soil pH | 6.5-7.0 (neutral to slightly alkaline) |
| Planting Depth | ½ inch deep |
| Spacing | 2-3 inches between plants, 12 inches between rows |
| Water Needs | Consistent moisture, about 1-1.5 inches per week |
| Temperature Range | 45-75°F (7-24°C) ideal |
| Common Varieties | Savoy, Semi-Savoy, Flat/Smooth Leaf |
When to Plant Spinach

Spring Planting
- Plant as soon as soil can be worked in early spring
- 4-6 weeks before last frost date is ideal
- Soil temperature should be at least 40°F (4°C)
- For continuous harvest, plant every 2 weeks until temperatures warm
Fall Planting
- Begin planting 6-8 weeks before first fall frost
- Soil temperature should be 70°F (21°C) or cooler
- Fall plantings often produce better quality leaves
- Can continue harvesting into winter in mild climates or with protection
Choosing the Right Location
- Light requirements: Full sun in cool weather, partial shade in warmer regions
- Protection: Choose a spot sheltered from strong winds
- Companion plants: Good neighbors include strawberries, peas, and cabbage
- Avoid planting near: Potatoes, fennel, or corn
Soil Preparation
Key Soil Requirements
- Well-draining soil to prevent root rot
- Rich in organic matter for best growth
- Neutral to slightly alkaline pH (6.5-7.0)
Preparation Steps
- Remove weeds and debris from the growing area
- Add 2-3 inches of compost or aged manure to the soil
- Mix in balanced organic fertilizer following package directions
- Till or turn the soil to a depth of 8-10 inches
- Smooth the surface with a rake before planting
Planting Spinach
From Seeds (Recommended Method)
- Direct sowing: Plant seeds ½ inch deep
- Spacing: Sow seeds 1 inch apart in rows 12-18 inches apart
- Germination: Seeds typically sprout in 5-14 days depending on soil temperature
- Thinning: When seedlings have 2 true leaves, thin to 3-4 inches apart (eat the thinnings!)
From Transplants
- Purchase healthy seedlings from a nursery
- Harden off plants before transplanting
- Plant at the same depth as they were growing in their containers
- Space plants 3-4 inches apart
Growing in Containers

Container Selection
- Choose containers at least 6-8 inches deep with drainage holes
- Width depends on how many plants you want (allow 3-4 inches per plant)
- Unglazed clay pots work well as they allow excess moisture to escape
Container Growing Tips
- Use high-quality potting mix, not garden soil
- Add slow-release fertilizer at planting time
- Check moisture levels more frequently than garden plants
- Move containers to shadier locations when weather warms
- Varieties like ‘Baby’s Leaf Hybrid’ and ‘Melody’ work well in containers
Watering Spinach
Watering Guidelines
- Keep soil consistently moist but not soggy
- Frequency: Several light waterings per week is better than one heavy soaking
- Amount: About 1-1.5 inches of water per week
- Technique: Water at the base of plants to avoid wetting leaves
- Morning watering is best to allow leaves to dry during the day
Signs of Watering Issues
- Underwatered: Wilting, yellowing leaves, stunted growth
- Overwatered: Yellowing leaves, root rot, increased disease susceptibility
Fertilizing Spinach
Initial Fertilization
- Mix in balanced organic fertilizer when preparing soil
Ongoing Fertilization
- Side-dress with compost tea or diluted fish emulsion every 2-3 weeks
- Avoid high-nitrogen chemical fertilizers that can lead to nitrate buildup
Spinach Varieties to Try
Savoy (Crinkled Leaf)
- ‘Bloomsdale’: Heirloom variety with thick, crinkled leaves and excellent flavor
- ‘Winter Bloomsdale’: Cold-hardy variety great for fall planting
Semi-Savoy
- ‘Tyee’: Disease-resistant with slightly crinkled leaves
- ‘Melody’: Resistant to downy mildew with good bolt resistance
- ‘Catalina’: Heat-tolerant variety with dark green leaves
Smooth/Flat Leaf
- ‘Space’: Fast-growing with smooth, rounded leaves
- ‘Giant Nobel’: Large leaves, slow to bolt, great flavor
Common Problems and Solutions
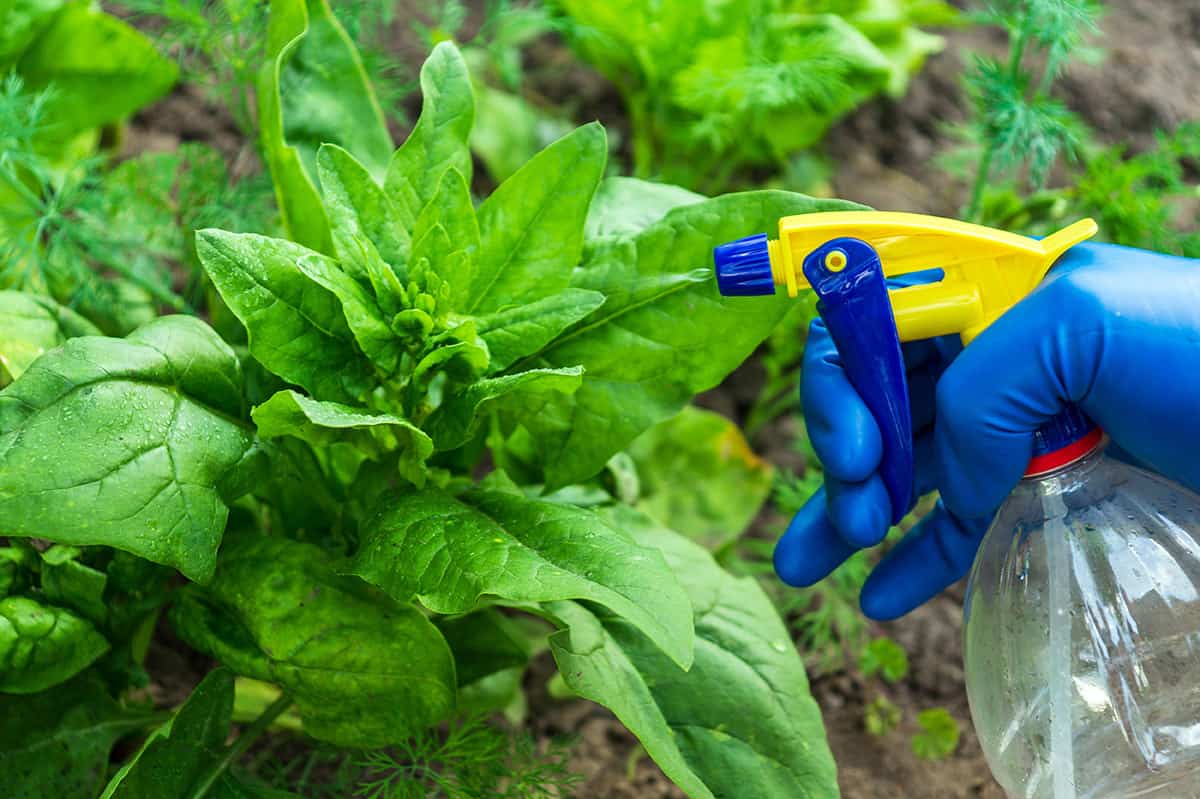
Pests
- Aphids: Spray with strong water stream or insecticidal soap
- Leaf miners: Remove affected leaves; use row covers to prevent
- Slugs/Snails: Use diatomaceous earth or organic slug bait
Diseases
- Downy mildew: Choose resistant varieties; ensure good air circulation
- Leaf spot: Avoid overhead watering; remove infected leaves
- White rust: Rotate crops; avoid planting spinach in same spot for 2-3 years
Environmental Issues
- Bolting (flowering): Plant in cool weather; choose bolt-resistant varieties
- Yellow leaves: May indicate nitrogen deficiency or overwatering
- Stunted growth: Check for soil compaction or nutrient deficiencies
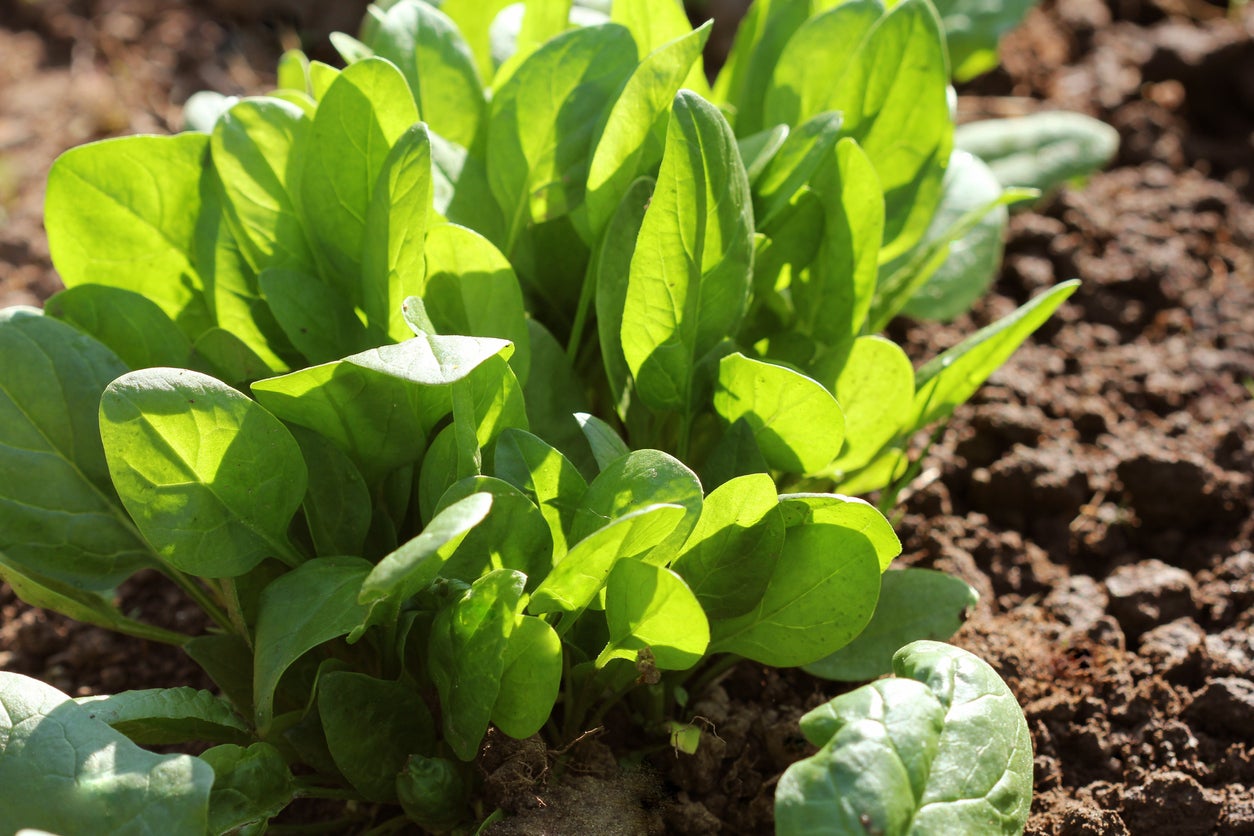
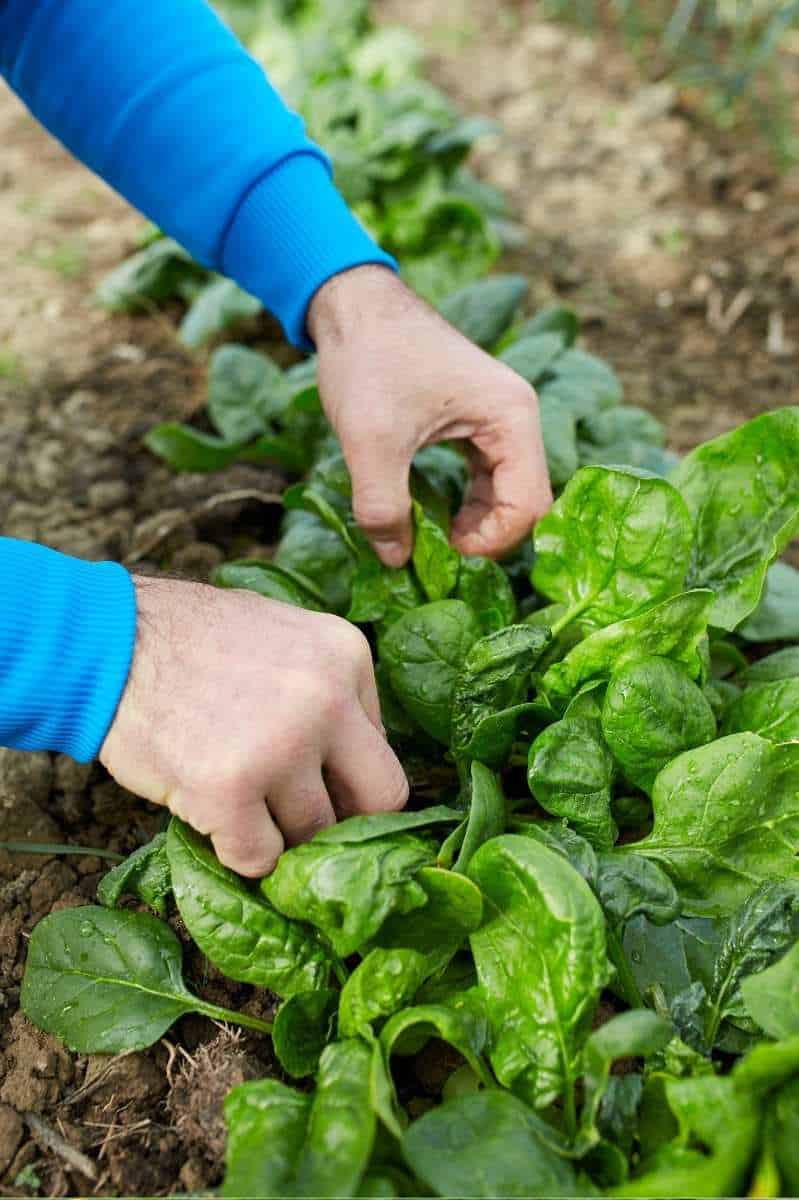
Harvesting Spinach
When to Harvest
- Spinach is ready to harvest when leaves are 3-4 inches long
- Typically 30-45 days after planting from seed
- Harvest before plants bolt (send up flower stalks)
Harvesting Methods
- Cut and come again: Harvest outer leaves when they reach usable size, allowing inner leaves to continue growing
- Whole plant harvest: Cut entire plant about 1 inch above soil level
Pro Tips for Harvesting
- Harvest in the morning for best flavor
- Use clean, sharp scissors or garden shears
- Rinse leaves immediately after harvesting
- For continuous production, make succession plantings every 2-3 weeks
Storing and Using Your Harvest
- Fresh storage: Refrigerate unwashed leaves in a plastic bag with a paper towel for up to 1 week
- Freezing: Blanch leaves for 2 minutes, cool in ice water, drain well, and freeze
- Using: Young leaves are perfect for salads; mature leaves are better for cooking
Season Extension Tips
- Spring: Use row covers or cold frames to protect from late frosts
- Fall: Protect plants with row covers when temps drop below freezing
- Winter: In mild climates, mulch heavily around plants or use cold frames
Troubleshooting Common Issues
Why is my spinach bolting (flowering)?
- Caused by long days and hot temperatures
- Plant in early spring or fall for cooler growing conditions
- Choose bolt-resistant varieties like ‘Tyee’ or ‘Space’
Why are my spinach leaves turning yellow?
- May indicate overwatering, nutrient deficiency, or disease
- Ensure soil drains well and has adequate nitrogen
- Check undersides of leaves for pests
Why are there holes in my spinach leaves?
- Likely caused by insects such as slugs, snails, or caterpillars
- Inspect plants, especially at night for slugs
- Apply appropriate organic controls for the specific pest
Beginner Success Tips
- Start small: A 3’x3′ bed or a few containers is perfect for beginners
- Focus on timing: Plant during cool seasons for best results
- Keep soil consistently moist: Dry spells can lead to bitter leaves
- Harvest regularly: Frequent harvesting encourages new growth
- Protect from extreme weather: Use row covers or shade cloth as needed
- Succession plant: Sow new seeds every 2-3 weeks for continuous harvest
Conclusion
Growing spinach is a rewarding experience that provides nutritious greens for your table with minimal effort. By focusing on cool-season planting, consistent moisture, and regular harvesting, even beginners can achieve excellent results. Start with a small planting, learn as you grow, and enjoy the satisfaction of harvesting your own fresh spinach just steps from your kitchen. Happy Gardening….