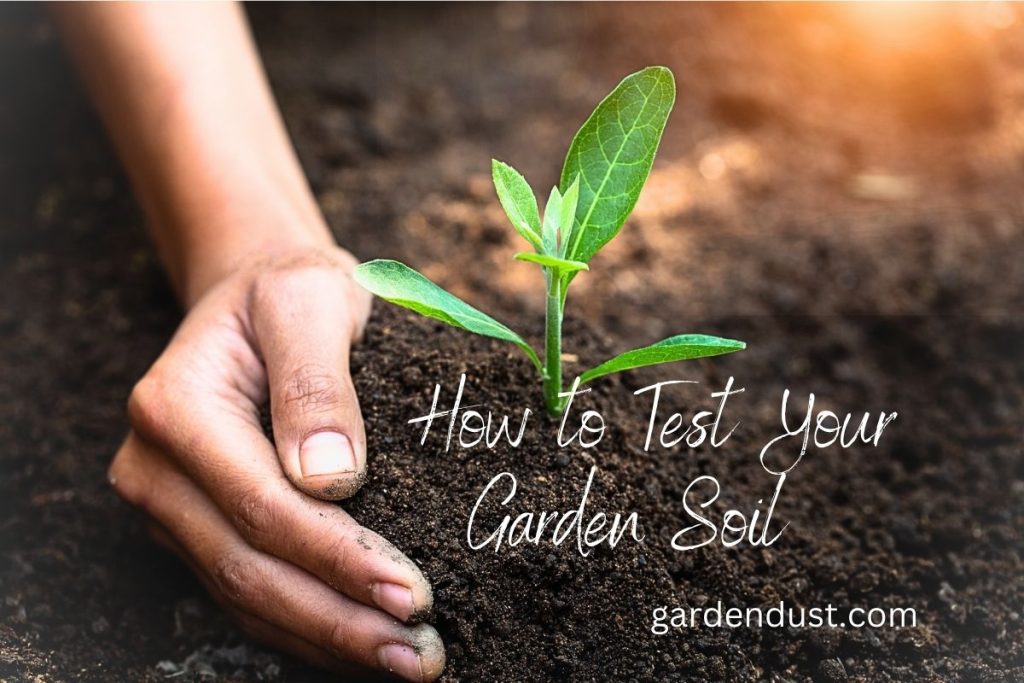
Soil testing is a critical component of gardening and farming. The soil is the foundation for any successful garden, and it’s essential to know what’s in it. Soil testing helps to identify the nutrients, pH level, and other important factors that contribute to plant growth. Knowing what’s in your soil can help you make informed decisions about fertilizers, amendments, and other strategies for improving your garden’s health and productivity.
In this article, we’ll explore the importance of soil testing and how you can test your garden soil to ensure that your plants thrive.
Why is Soil Testing Important?
Soil testing is important for several reasons. First, it helps you determine the pH level of your soil. pH is a measure of the acidity or alkalinity of the soil. Most plants prefer soil that is slightly acidic, with a pH range between 6.0 and 7.0. However, some plants, such as blueberries, prefer more acidic soil, while others, such as lilacs, prefer more alkaline soil. By testing your soil, you can determine its pH level and adjust it as needed to ensure that your plants are getting the nutrients they need to thrive.
In addition to pH, soil testing can also help you determine the nutrient content of your soil. Different plants have different nutrient requirements, and knowing what’s in your soil can help you make informed decisions about fertilizers and other amendments. For example, if your soil is deficient in nitrogen, you may need to add a nitrogen-rich fertilizer to help your plants grow. Conversely, if your soil is high in phosphorus, you may need to avoid adding phosphorus-rich fertilizers, as too much phosphorus can actually inhibit plant growth.
Finally, soil testing can help you identify any potential contaminants in your soil. For example, if you’re gardening in an area that was previously used for industrial purposes, there may be heavy metals or other pollutants in the soil that could be harmful to your plants or to you. Soil testing can help you identify these contaminants so that you can take steps to mitigate any potential risks.
How to Test Your Garden Soil?
There are several ways to test your garden soil, ranging from DIY home kits to professional laboratory analysis. Here are a few of the most common methods:
· DIY Home Kits
DIY soil testing kits are an affordable and convenient way to test your garden soil. These kits typically include test strips or capsules that you mix with a soil sample, along with instructions for interpreting the results. While home kits can be a useful tool for getting a rough idea of your soil’s pH and nutrient levels, they may not provide as accurate or comprehensive results as professional laboratory analysis.
· Cooperative Extension Service
Many states have a Cooperative Extension Service, which provides a variety of resources and services to farmers and gardeners. Some Cooperative Extension Services offer soil testing services for a small fee. You can usually find information about soil testing services on your state’s Cooperative Extension Service website.
· Private Laboratories
Private laboratories can provide more comprehensive soil testing services than DIY home kits or Cooperative Extension Services. These labs typically offer a variety of tests, including pH, nutrient analysis, and contaminant testing. While private lab testing can be more expensive than other options, it can provide more accurate and detailed results that can help you make more informed decisions about your garden.
Regardless of which method you choose, there are a few steps you can take to ensure that your soil sample is representative of your garden’s soil:
· Choose a Representative Sample
When collecting a soil sample, it’s important to choose a representative area of your garden. This means selecting an area that is typical of the rest of your garden, rather than an area that is particularly lush or bare. You should also collect soil from several different areas within your garden to ensure that your sample is representative of the entire space.
· Collect Soil at the Right Depth
The depth at which you collect your soil sample can also affect the accuracy of your test results. Most experts recommend collecting soil from a depth of 6 to 8 inches, as this is where most plant roots are located.
· Use the Right Tools
When collecting a soil sample, it’s important to use the right tools to avoid contaminating the sample. Use a clean trowel or shovel to collect your soil, and avoid using tools that have been in contact with fertilizers or other garden chemicals.
· Mix Your Sample Thoroughly
Once you’ve collected your soil sample, it’s important to mix it thoroughly to ensure that all parts of the sample are represented in your test results. Use a clean bucket or container to mix your sample, and avoid using containers that have been in contact with fertilizers or other garden chemicals.
Soil testing is a critical component of gardening and farming. Knowing what’s in your soil can help you make informed decisions about fertilizers, amendments, and other strategies for improving your garden’s health and productivity. By testing your soil, you can identify the pH level, nutrient content, and potential contaminants in your soil, which can help you tailor your gardening practices to the specific needs of your plants.
Whether you choose to use a DIY home kit, a Cooperative Extension Service, or a private laboratory, it’s important to follow the proper procedures for collecting and testing your soil sample. By doing so, you can ensure that your test results are accurate and representative of your garden’s soil. Happy Gardening…


