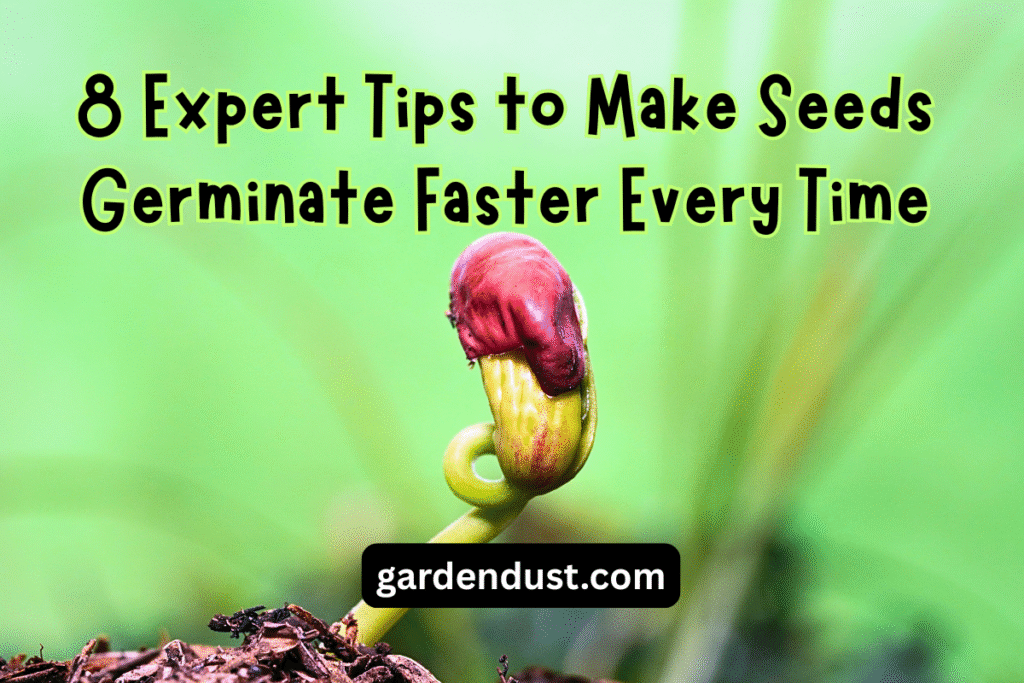
Seed germination is one of the most exciting yet delicate steps in the gardening process. Whether you’re growing vegetables, flowers, or herbs, the journey from seed to sprout can feel slow and unpredictable—especially for new gardeners. Fortunately, with the right methods and a little science, you can significantly speed up germination while improving success rates.
This guide reveals 8 expert tips to help your seeds germinate faster every time, no matter what you’re planting.
1. Start with Fresh, High-Quality Seeds
The foundation of fast and reliable germination lies in the quality of your seeds. Old, poorly stored, or low-quality seeds will naturally take longer to germinate—or worse, fail to sprout entirely.
Seeds lose vigor over time, especially if they’ve been exposed to heat or moisture. Using fresh seeds, ideally harvested or purchased within the last 1–2 years, gives you a better chance of quick sprouting.
How to Choose the Right Seeds:
- Check expiration or packed-on dates.
- Buy from reputable seed companies with good germination guarantees.
- Store seeds in a cool, dry, and dark place if saving your own.
Pro Tip: Do a “germination test” by placing 10 seeds in a moist paper towel and sealing it in a ziplock bag. If fewer than 6 sprout within a week, consider getting fresh seeds.
2. Pre-Soak Seeds Before Planting
Pre-soaking is a powerful trick for giving seeds a head start. By soaking them in warm water, you soften their hard outer coat and activate internal growth hormones—mimicking what happens naturally in the soil after rain.
Best Practices for Soaking:
- Use lukewarm water (not hot!) around 100°F (38°C).
- Soak for 8–24 hours depending on seed size and thickness.
- Drain and plant immediately afterward.
Seeds That Benefit Most:
- Beans
- Peas
- Beets
- Chard
- Nasturtiums
- Sunflowers
- Squash and melons
Note-Avoid Soaking small or very fine seeds like lettuce or carrots, as they can become waterlogged and fragile.
3. Use a Heat Mat or Maintain Optimal Soil Temperature
Seeds are sensitive to soil temperature, and most varieties germinate best in warm, consistent conditions. A seedling heat mat can help maintain the ideal temperature—especially in colder indoor environments.
Ideal Soil Temperatures for Fast Germination:
- Tomatoes, Peppers, Eggplants: 75–85°F (24–29°C)
- Lettuce, Kale, Spinach: 55–70°F (13–21°C)
- Cucumbers, Melons, Beans: 70–90°F (21–32°C)
How to Apply:
- Place a heat mat under your seed tray.
- Monitor soil temps with a probe thermometer.
- Turn off the mat after germination to prevent overheating.
Note: Avoid placing trays directly near heaters or windows, which can cause fluctuations or drying.
4. Provide Consistent Moisture—Not Too Much, Not Too Little
Seeds need moisture to activate enzymes that trigger growth. However, overwatering can cause rot, mold, or suffocate the seed, while underwatering can dry it out completely.
Moisture Guidelines:
- Keep the soil evenly moist like a wrung-out sponge.
- Mist the soil surface lightly using a spray bottle.
- Cover trays with plastic domes or clear lids to retain humidity (but vent daily).
Watering Tips:
- Use a bottom-watering method for better control and less surface disturbance.
- Avoid pouring water directly over planted seeds.
- Use distilled or room-temperature water to avoid shocking seeds.
Pro Tip: Once the seeds sprout, reduce humidity and water only when the surface begins to dry out.
5. Use the Paper Towel Germination Method (Especially for Slow Starters)
This method is ideal for tricky or slow-to-germinate seeds. It involves wrapping seeds in a moist paper towel and placing them in a sealed plastic bag to create a mini greenhouse.
How to Do It:
- Moisten a paper towel until damp but not dripping.
- Place seeds spaced apart on one half and fold it over.
- Insert the towel into a plastic bag or container.
- Keep it warm (70–80°F / 21–27°C) and check daily for sprouts.
Advantages:
- You can see which seeds are viable before planting.
- Less chance of rot or seed loss.
- Perfect for eggplant, parsley, peppers, and some perennials.
- Once you see tiny roots, carefully transfer the sprouted seeds to soil.
6. Scarify Tough Seed Coats
Scarification is the process of breaking down a seed’s hard outer shell to speed up moisture absorption and trigger faster sprouting. Many native plants and perennials have tough coatings that benefit from this method.
Methods of Scarification:
- Nick with a file or sandpaper – gently rub the seed until you see a change in color or texture.
- Hot water soak – pour near-boiling water over seeds, let cool, then soak for 24 hours.
- Freeze/thaw cycles – mimic nature by exposing seeds to temperature fluctuations.
Seeds That Benefit from Scarification:
- Morning glory
- Lupine
- Sweet pea
- Nasturtium
- Wisteria
- Moonflower
Caution: Be gentle! Damaging the embryo inside the seed can make it non-viable.
7. Ensure Proper Light (If Needed) After Sprouting
While most seeds don’t need light to germinate, some do, and all need strong light immediately after sprouting to prevent weak, leggy growth.
Seeds That Require Light to Germinate:
- Lettuce
- Petunia
- Snapdragons
- Coleus
Light Tips:
- Read seed packets: Some recommend surface sowing for light-exposed germination.
- After sprouting, use grow lights 2–3 inches above seedlings for 12–16 hours daily.
- Use cool-white or full-spectrum LEDs for best results.
- Without proper lighting, seedlings will stretch toward the nearest window and collapse from lack of support.
8. Choose the Right Growing Medium
Regular garden soil is too dense for seed starting. It holds too much moisture, compacts easily, and can introduce pathogens. A light, sterile seed-starting mix ensures proper airflow, moisture control, and root development.
Ideal Seed Starting Medium:
- Fine-textured and well-draining
- Sterile and free of weed seeds or pests
- Holds moisture without becoming soggy
Recommended Mixes:
- Store-bought seed-starting mixes (peat, coco coir, perlite)
- DIY Mix: 1 part coco coir or peat moss + 1 part perlite or vermiculite + 1 part compost (optional for nutrients)
- Avoid using potting soil, topsoil, or compost alone for germination.
Bonus Tip: Label and Track Germination Progress
One often overlooked trick for better germination is good record-keeping. Labeling your seeds and tracking germination timelines helps you:
- Avoid overwatering or overhandling.
- Identify slow or non-germinating batches.
- Refine your techniques year after year.
What to Record:
- Seed type and variety
- Date planted or soaked
- Germination date and success rate
- Notes on temperature, humidity, and methods used
- Use a simple garden notebook or spreadsheet to keep this information handy.
Common Germination Problems and Solutions
| Problem | Cause | Solution |
| Seeds not germinating | Old seeds, cold soil, overwatering | Use fresh seeds, warm the soil, mist instead of soaking |
| Mold/fungus on soil | Too much humidity, poor airflow | Vent covers daily, use cinnamon or chamomile tea as natural fungicide |
| Seeds sprouting then dying | Damping-off disease from fungi | Use sterile medium, bottom-water, and improve air circulation |
| Leggy seedlings | Insufficient light after sprouting | Use bright grow lights close to seedlings |
Frequently Asked Questions
Q1: Can I speed up germination with hydrogen peroxide?
Yes, a diluted hydrogen peroxide soak (1 tsp per cup of water) can disinfect seeds and soften seed coats, helping with germination—especially for older seeds.
Q2: How long should it take seeds to germinate?
It varies by species:
- Radishes: 3–5 days
- Tomatoes: 5–10 days
- Peppers: 7–21 days
- Parsley: 14–28 days
Track expected timelines and be patient—but intervene if nothing happens within that window.
Q3: Should I fertilize seeds as they sprout?
No. Seeds contain all the nutrients they need for the first stage. Start feeding with diluted fertilizer only after the first true leaves (not seed leaves) appear.
Final Thoughts
Speeding up seed germination is part science, part art—and fully rewarding. By applying these 8 expert tips, you can enjoy faster sprouting, stronger seedlings, and more productive plants from the start. Whether you’re sowing a summer vegetable garden or a windowsill herb patch, these strategies will help you take control of one of the most crucial stages of growing. Fast, healthy germination sets the stage for a flourishing garden—and it starts with the little choices you make today. Happy Gardening…